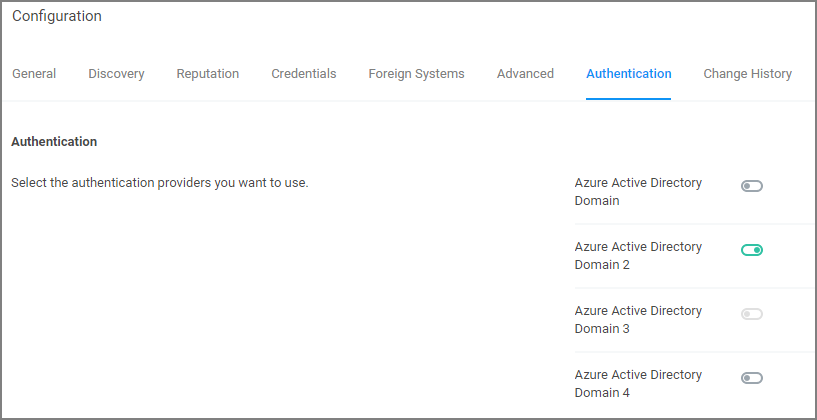
Authentication Tab
The Authentication tab is used for enabling the Authentication Providers used with Verify Privilege Manager. Different authentication providers can be enabled based on configured Foreign Systems. The user logs in by selecting from one of these active authentication providers on the login page.
If you are trying to change your Authentication Provider specifically to NTLM, Verify Privilege Manager runs a verification to make sure the local built-in Administrators Group is in the Verify Privilege Manager Administrators Role.
Managing Auth Providers
After you've configured your SAML identity provider, configured users, and added users/groups to Verify Privilege Manager roles, you should be ready to enable SAML as an auth provider.
Enable a SAML Identity Provider
- Click the slider on the name of your SAML Identity Provider to enable it and save changes.
You can't disable the auth provider used for the current user. To ensure things are setup correctly, you're required to login with a different auth provider before disabling an existing one. You shouldn't rely on a single auth provider, it's best to have a backup in case of any unexpected foreign system issues.
Login
After you've saved auth provider changes, you can logout and test your setup.
-
Click the name of your SAML Identity Provider.
-
You'll be redirected to the configured provider, where you can sign in.
Make sure you're not already signed into the SAML Identity Provider. For example, if your provider is Okta and you've been using the Okta configuration UI, it will try to automatically use that user (and if you are not added to the application, it will fail). It's best to do this in a new Incognito/Private window, and or clear cookies and restart the browser before proceeding.
