Active Directory Synchronization
The following procedures show the steps necessary to set-up Active Directory synchronization in Verify Privilege Manager.
If you already configured the AD Default User Credential skip to the Foreign Systems set-up procedure.
For local AD synchronization with Verify Privilege Manager cloud the Directory Services Agent has to be installed. We recommend installing the Directory Services Agent on a system that already has the IBM Security Agent (Core Agent) installed; however you may also use a domain connected system and newly install both the Core and Directory Services Agent by using the bundled installer.
Set Up AD Default User Credential
The following minimum permissions are required.
| Property | Permission |
|---|---|
| Object | List contents, Read object Class |
| User Objects | Read Display Name, Read Distinguished Name, Read E-mail-Address, Read objectGUID, Read Logon Name, Read Logon Name (pre-Windows 2000) |
| User Group | Read displayName, Read Distinguished Name, Read Group name (pre-Windows 2000), Read groupAttributes, Read memberOf, Read Members, Read objectGUID |
-
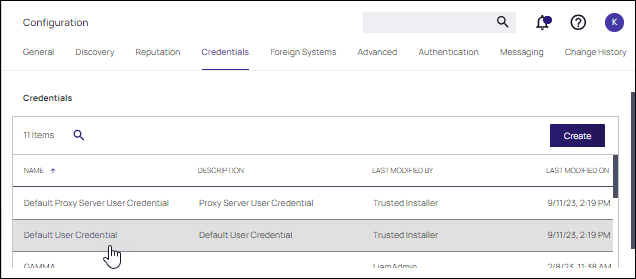
Select Admin | Configuration.
-
Select the Credentials tab.
-
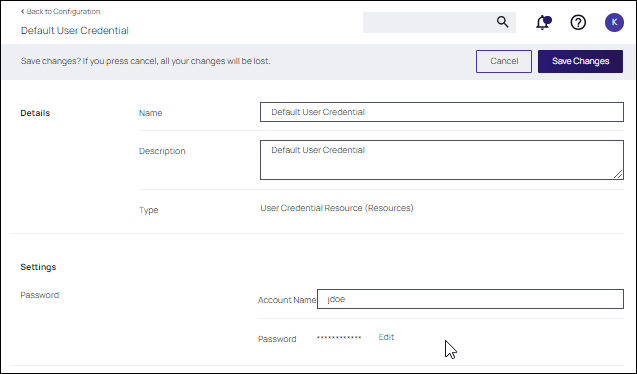
Edit the Default User Credential or use Create to add a new user.
-
Set a domain credential with an Account Name and Password that can read from the Active Directory domain(s).Click Save Changes and continue with step 2 in the Foreign Systems set-up procedure.
Set Up Foreign Systems
-
Select Admin | Configuration.
-
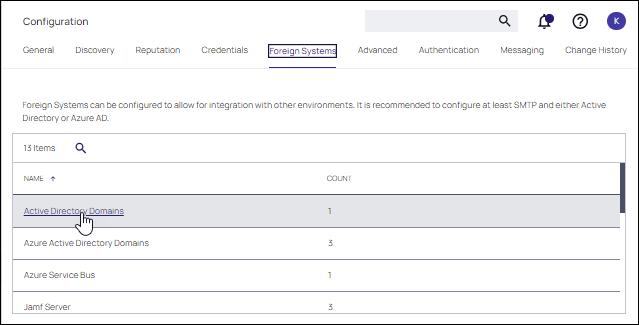
Select the Foreign Systems tab.
-
Select Active Directory Domains.
-
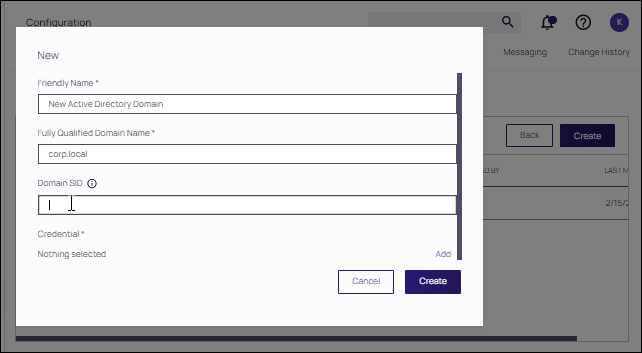
On the Active Directory Domains page, select Create.
-
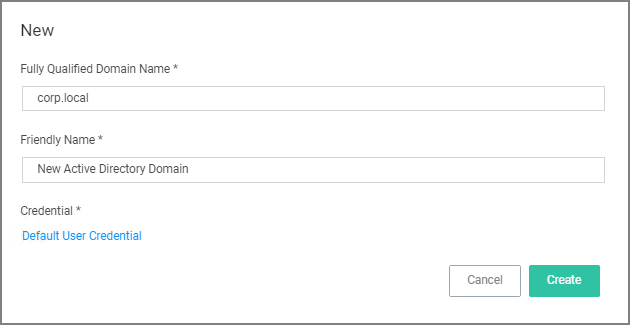
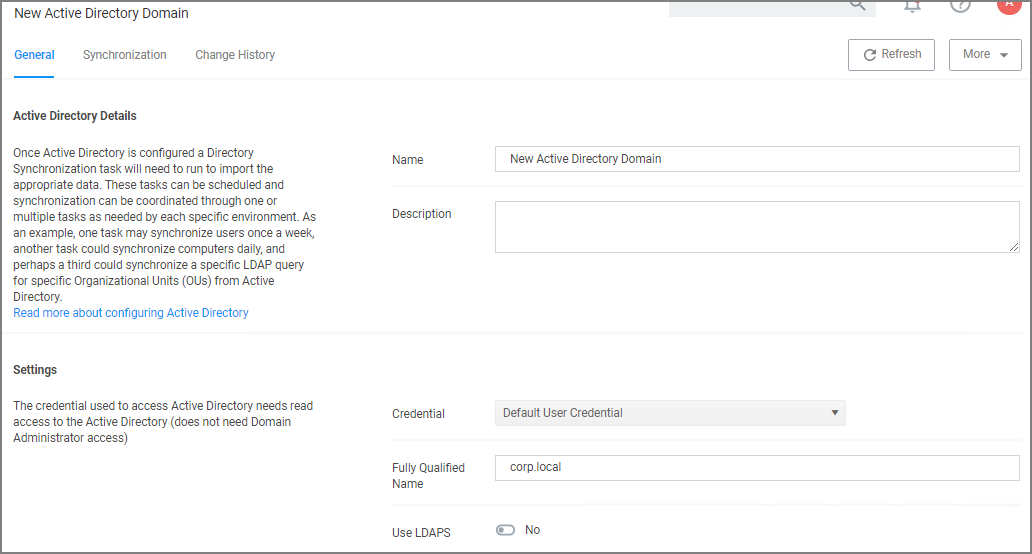
Enter a fully qualified domain name and a friendly name.
-
Enter a SID. To find your SID, open a PowerShell window and type: Get-ADDomain. Your SID appears in the DomainSID field.
An SID is required.
-
-
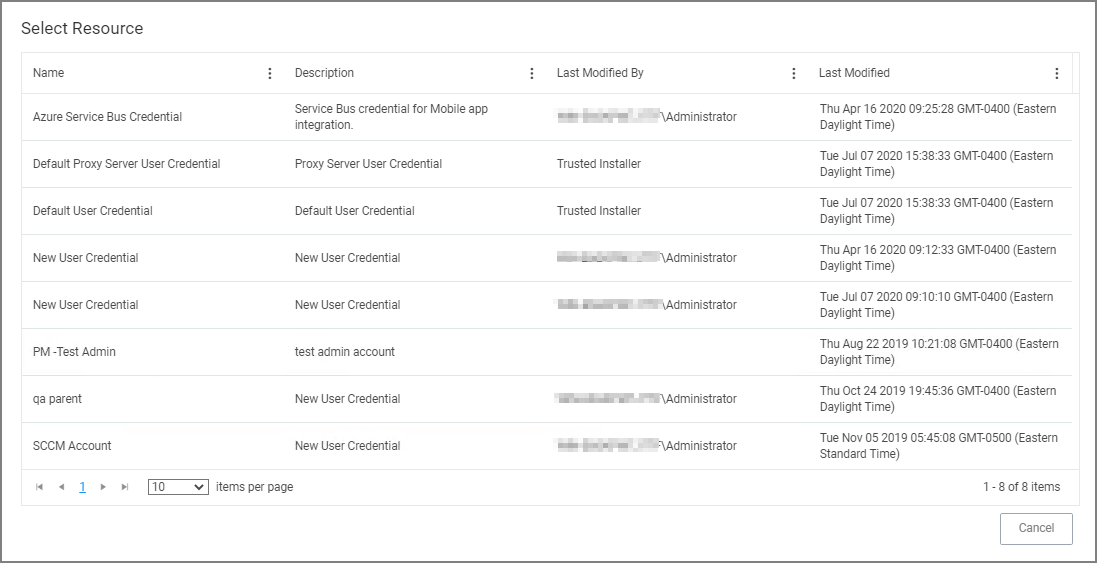
Under the required Credential click Select....
-
From the Resources page select a credential.
-
Click Create.
-
Verify the URL (Fully Qualified Name) is correct.
-
If the domain uses LDAPS, set the switch to enable.
-
Click Save Changes.
-
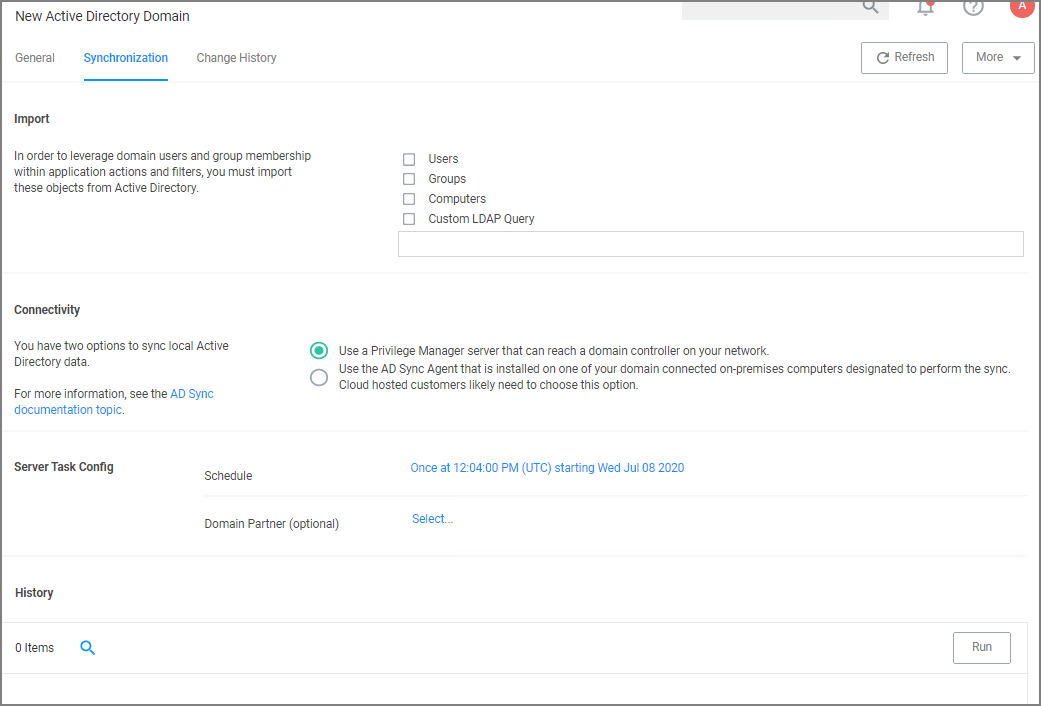
Once Active Directory is configured a Directory Synchronization task needs to run to import the appropriate data. Select the Synchronization tab.
-
Select the task(s) you want to perform:
- Import:
- Users
- Groups
- Computers
- Custom LDAP Query
- Connectivity, via either
Privilege Manager server that can reach a domain controller on your network:
- Synchronization Task Config:
- Schedule - Schedules help keeping your system in sync with your domain updates.
- Domain Partner (optional)
- Click Save Changes.
- Click Run, to manually run the task on demand.
- Synchronization Task Config:
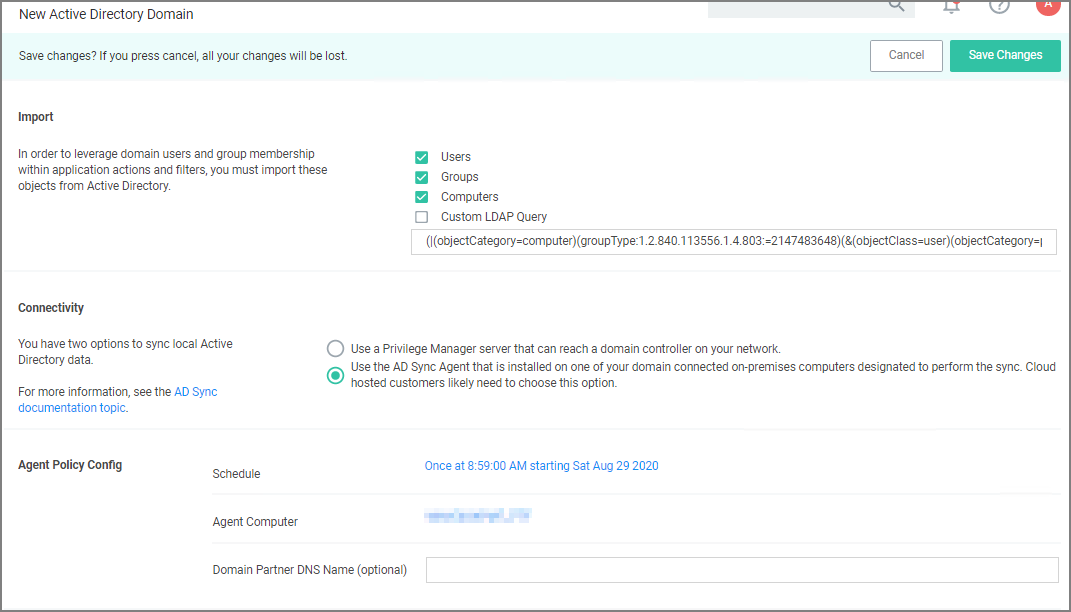
Directory Services Agent that is installed on one of your domain connected on-premises computers designated to perform the sync. Cloud hosted customers likely need to choose this option.
Under Agent Policy Config:
- Schedule: Schedules help keeping your system in sync with your domain updates.
- Agent Computer: Select the computer that has the IBM Security Core and Directory Services Agents installed.
- Domain Partner (optional)
Click Save Changes.
By setting this up via Directory Services Agent, the directory policy and the Directory Sync Policy task are applied to the agent, which based on the task schedule kicks off the local active directory synchronization. You can verify this by checking your Agent logs.
- Import:
Tasks can be scheduled and synchronization can be coordinated through one or multiple tasks as needed by each specific environment. As an example, one task may synchronize users once a week, another task could synchronize computers daily, and perhaps a third could synchronize a specific LDAP query for a specific group from Active Directory.
Viewing Imported Users and Groups
You may verify and browse the users and groups that are expected to be imported from Active Directory.
-
In Verify Privilege Manager, navigate to Admin | Resources.
-
Expand Organizational Views.
-
Expand Default.
-
Expand All Resources.
-
Expand Security Principal.
- Select Domain User. You should see a list that contains imported Active Directory users.
- Select User Group. You should see a list that contains imported Active Directory groups (other groups may exist in the list as well).
