E-mail Reports Task
Any report created in Verify Privilege Manager can be sent to a group of recipients based on a scheduled task.
To set this up, create a new Server task to send emails.
-
Navigate to Admin | Tasks.
-
In the folder tree open Server Tasks | E-mail Tasks.
-
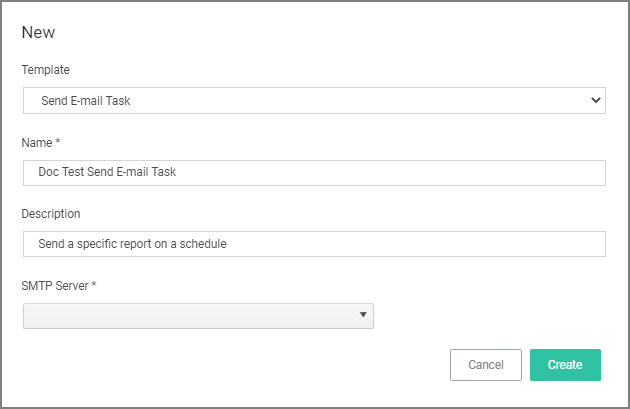
Click Create. For on-premises instances the modal has an SMTP Server selection option, for cloud instances the server defaults to a pre-configured value and does not have the SMTP Server field.
-
From the Template drop-down select Send E-mail Task.
-
Enter the task name and description.
-
If this is for an on-premises instance, for SMTP Server, search for your SMTP server that is already configures as a foreign system for your instance.
-
Click Create.
For cloud environments the SMTP server settings are pulled from an existing configuration and can't be edited via the parameters tab.
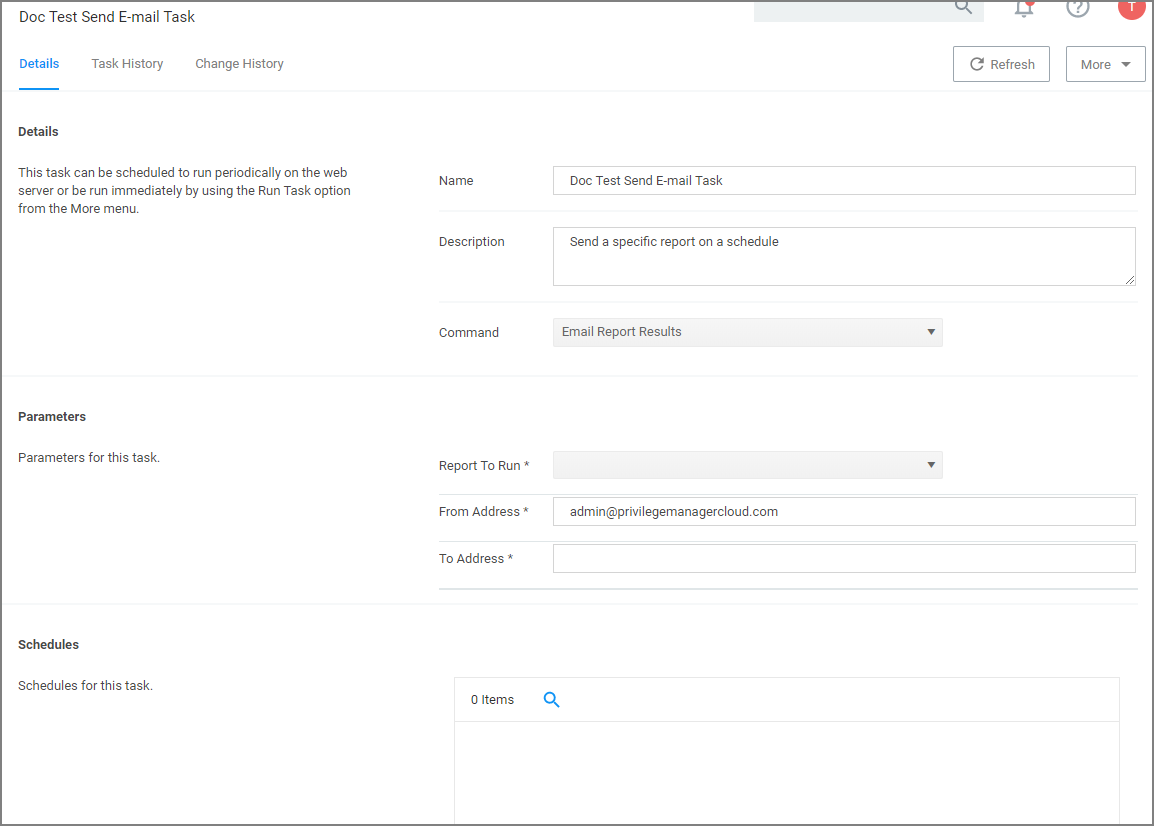
Under Details and Parameters you can change/edit any of the task specific information:
- From the Command drop-down, select what command you wish to execute, e.g. Email Report Results.
- From the Report to Run drop-down, search for and select the report you wish to send.
- In the From Address field enter the sender information you wish to be provided.
- In the To Address field specify the recipient(s) (this can be a comma-separated list of addresses).
- Click Save Changes.
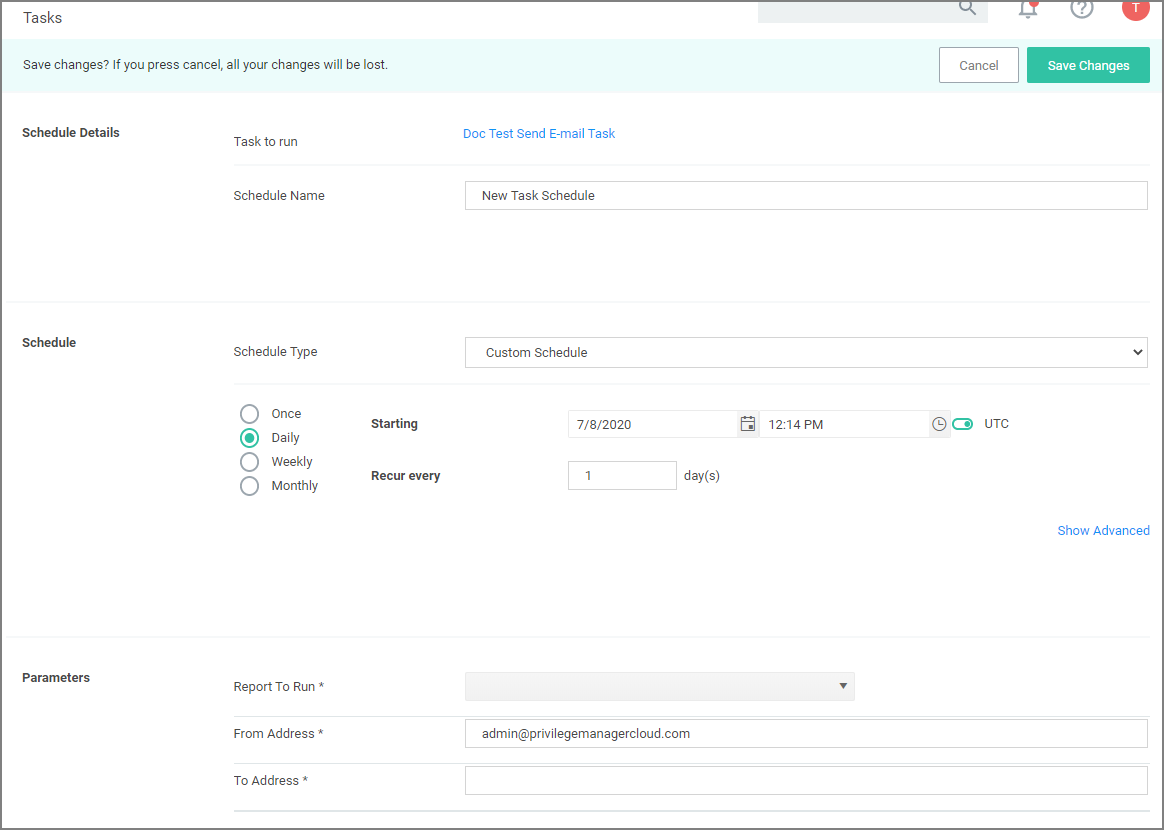
Under the Schedules section of the page you can specify a schedule for this specific task.


