iTunes with File Upload
As we've seen, there are multiple ways to introduce a new application into Verify Privilege Manager before assigning a policy to it. For this example we will perform a File Upload for the iTunes installer to quickly deny list the iTunes program from running on target endpoints.
When the iTunes default filter is used, verify the correct Company name is entered to match the application targeted by the policy.
- Using the Policy Wizard, create a controlling policy that blocks application execution on endpoints.
- Select how you want the processes blocked, either Block Silently or Notify and Block, for this example we use Block Silently. Click Next Step.
- Select what types you want the policy to block, for this example it's Executables.
- Choose your target, for this example File Upload.
- Click Choose File and select the installer (iTunes.exe) to upload.
- Click Upload File.
- On the Manage Application page select all the identifying factors you want the filter to target.
- Click Create Filter.
- Click Next Step.
- Name your policy and add a description, click Create Policy.
- Set the Inactive switch to Active.
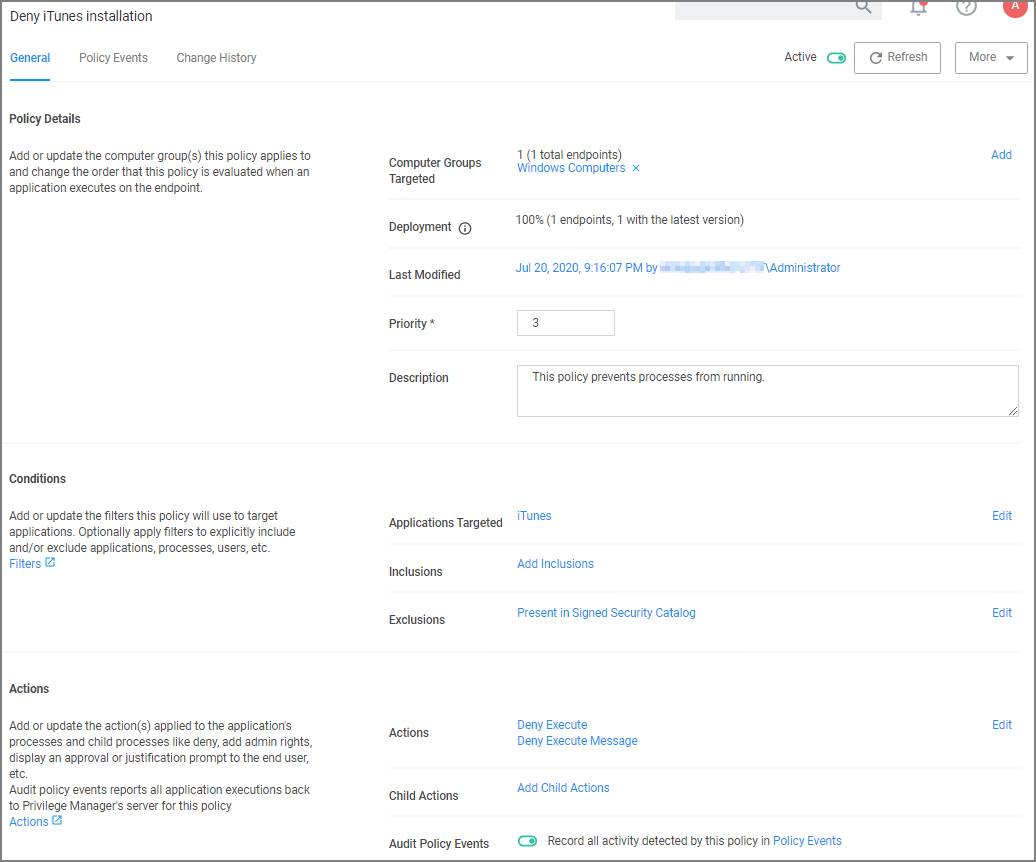
Under the Actions tab, do not change the settings, but notice it is set to Deny Execute Message. This will produce a pop-up message to the user telling them this application execution is denied.
You can edit the policy further, if needed. Adjust the Policy Priority as needed.