Setting up ActiveX Policies
To allow add-ins to be installed via Internet Explorer, you need to create an allow policy for ActiveX.
You will need to import local group policy definitions before editing your Active-X Group Policy Settings.
Refer to the Local Security topic, specifically Manage Local Groups.
Creating the Policy
-
Navigate to Admin | Folders.
-
Select Group Policies.
-
Click Create.

-
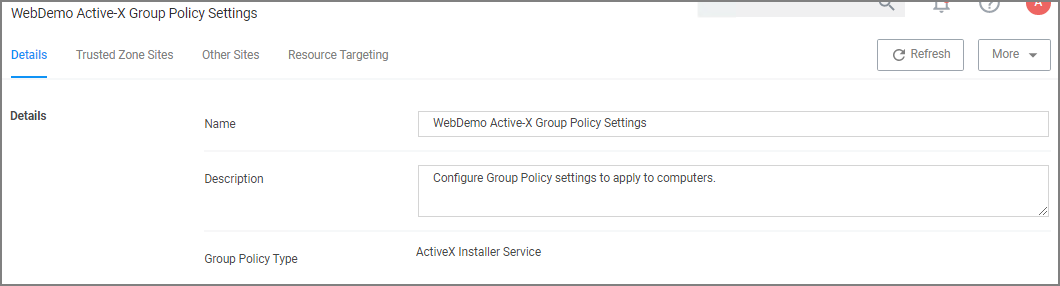
From the Template drop-down, select Active-X Group Policy Settings.
-
Enter a name and description to identify the policy.
-
Click Create.
-
If you haven't already imported the Local Group Policy Definitions, Verify Privilege Manager prompts you to import the definitions.
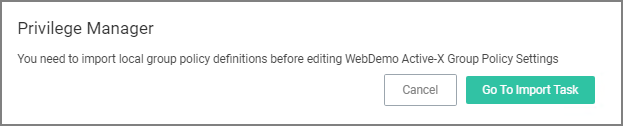
Click Go to Import Task and run the task. Return to the Active-X policy.
-
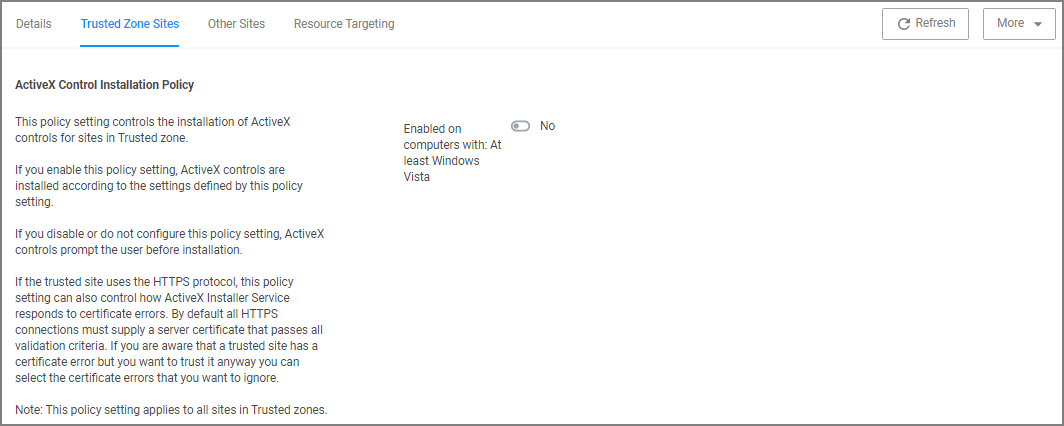
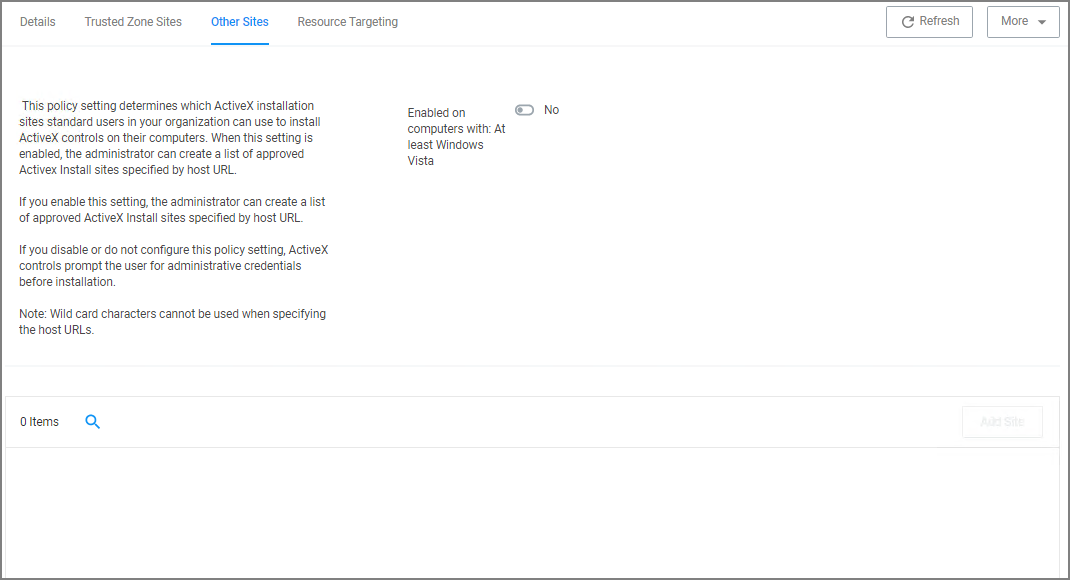
You can now add Trusted Zone sites and Other Sites and customize what actions to take when they are accessed.
- Trusted Zone Sites tab:
- Other Sites tab:
-
To customize, set the Enabled on computers with: At least Windows Vista to Yes.
-
Click Add Site.

-
Enter the Host Name (URL) for the site.
-
Select from the Trusted Publishers and Signed Controls drop-down. The options are
- Don't install
- Prompt the user
- Silently install
-
Select from the Unsigned Controls drop-down. The options are
- Don't install
- Prompt the user
-
Set any of the Certificate Validations switches to active specific ignore behavior, such as
- Ignore unknown certification authority (CA)
- Ignore invalid certificate name (CN)
- Ignore invalid certificate date
- Ignore wrong certificate usage
- Trusted Zone Sites tab:
-
Click Save Changes.
-
On the Resource Targeting tab, Verify Privilege Manager provides instructions for setting up how to deploy the Active-X policy to Resource Targets.
-
In Clone the following Policy, click the Policy link to open the read-only client task.
-
Duplicate the client task and give it a name identifying it as the task for your Active-X policy.
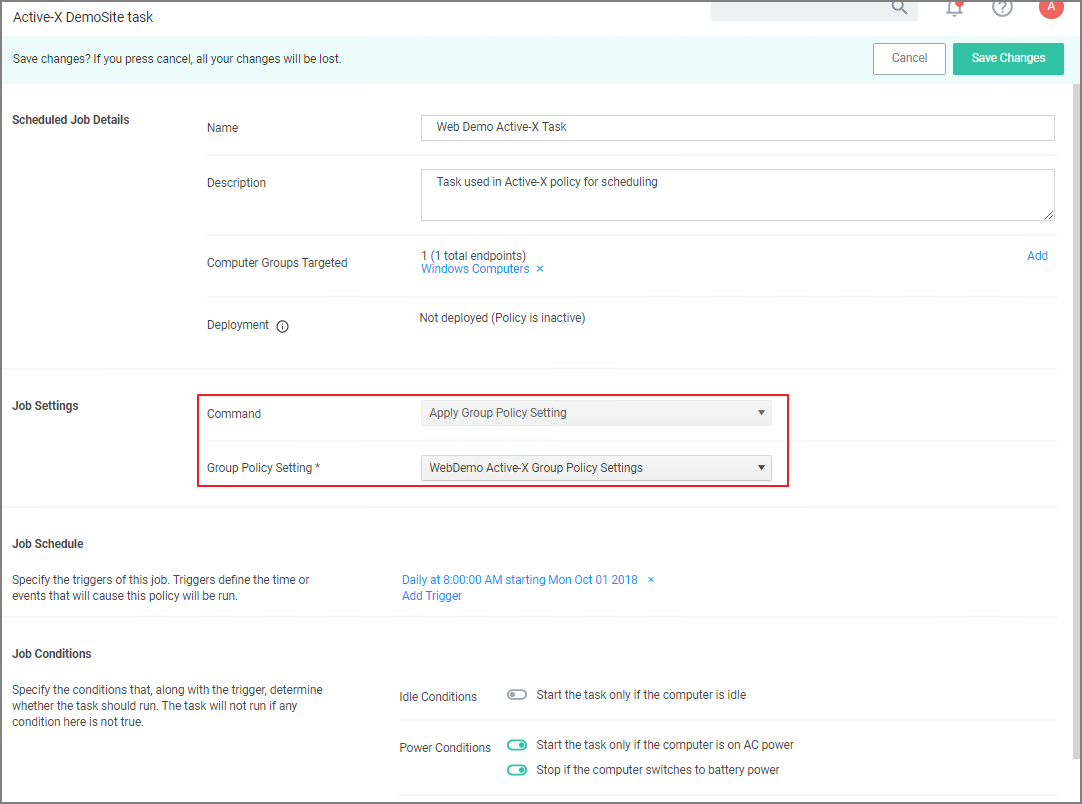
- From the Job Settings | Command drop-down, select Apply Group Policy Settings.
- From the Group Policy Setting drop-down, select the Active-X policy created above.
Apply Group Policy Settings when you have 2 or more ActiveX policies to add to the Parameters, otherwise use the Apply Group Policy Setting item.
-
Under Job Schedule modify the schedule and/or add triggers.
-
Set the Inactive switch to Active.
-
Click Save Changes.
On completing this configuration, Verify Privilege Manager Triggers feature will then send the configured task to the targeted endpoint.
To view the Task, go to the Task Scheduler. You must have administrator access to view the task inside Thycotic folder.