Verify Privilege Manager
copied to clipboard
Initial Setup - Cloud
After you've signed up for a Verify Privilege Manager Cloud trial, you will receive 2 emails. The first one is from Customer Support and will ask you to create a password to log into the customer support portal.
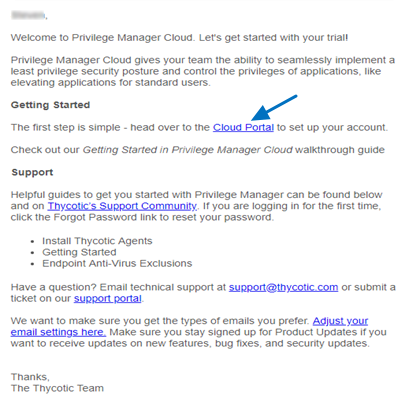
The second email you will receive is from Verify Privilege Manager Sales titled Verify Privilege Manager Cloud Trial. This email directs you to the Cloud Portal to begin your instance setup.
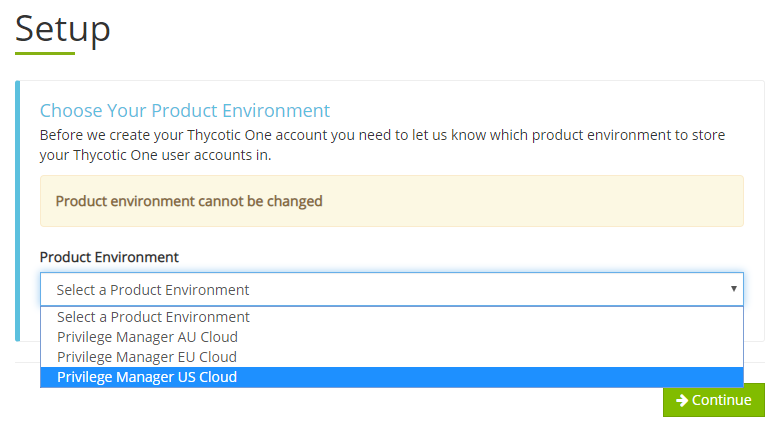
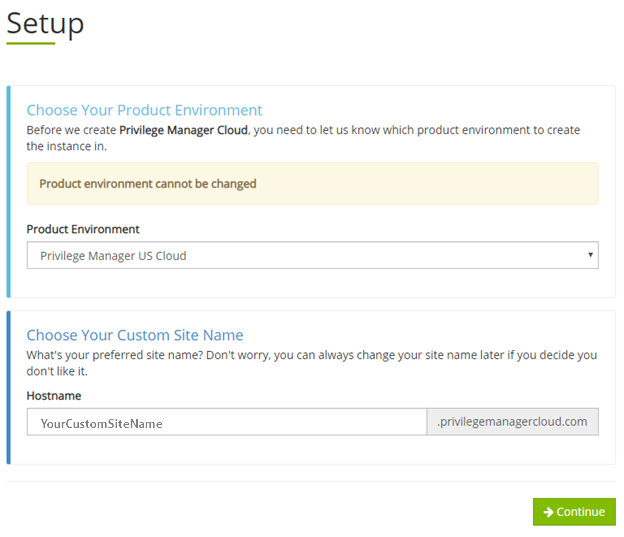
Select the Cloud Portal link. On the Setup page, choose your Cloud Environment location from the drop-down menu. Then click Continue.
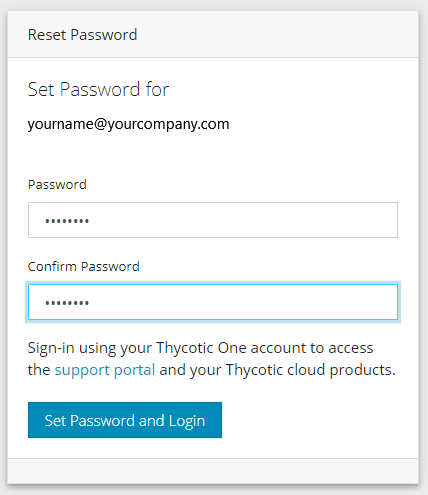
You will be directed to the Thycotic One portal to create the password for your first user account with Administrator credentials. This account will be assigned to the email address you entered to request the trial. After confirming the password, click Set Password and Login.
Verify Privilege Managerrecommends that you store the password in a secured physical location such as a safe or locked file cabinet. You can reset the password using an email reset, but if this password is forgotten or you no longer have access to the email account, Verify Privilege Manager will not be able to reset this password.
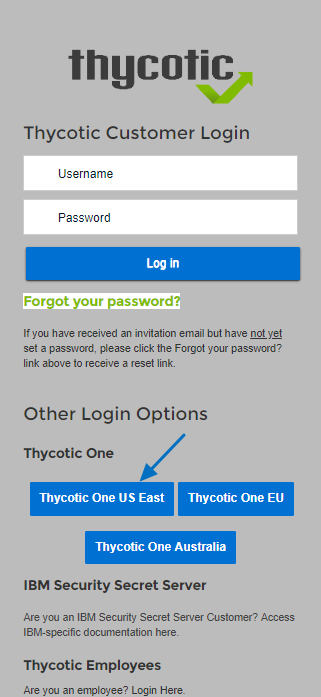
On the Verify Privilege Manager Login page, click the blue button that corresponds to your new Cloud's Thycotic One location (chosen above).
Next, on the Setup page choose the location of your cloud environment and enter the Name for your subdomain. Do not use special characters or spaces.
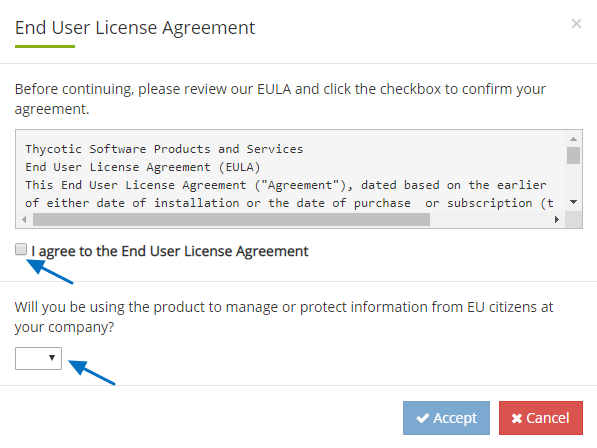
Read the End User License Agreement and click the box to signify agreement. From the drop-down, select Yes or No to signify your organization's oversight of EU information. Click Accept.
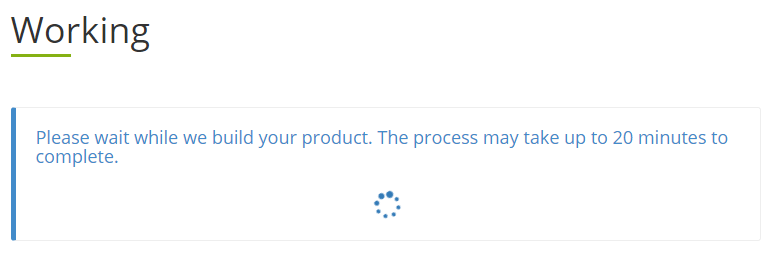
It will take approximately 20 minutes for your new Verify Privilege Manager Cloud to spin up.
When complete, click Go to your Verify Privilege Manager Cloud instance and Login with Thycotic One.
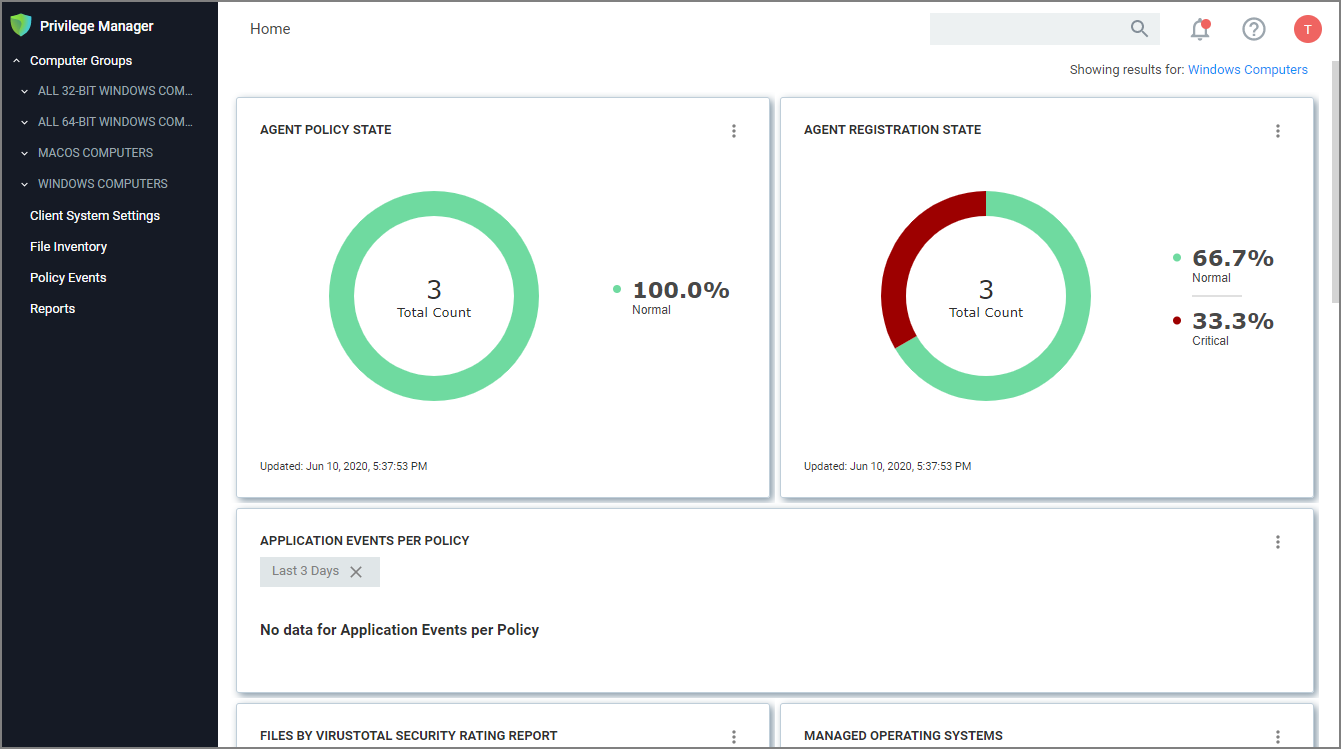
You will be automatically redirected to your new Verify Privilege Manager Home page.
In this Article
