Disabling Local Vault via Admin Enforcement on Windows
Disabling on Installation
If you are installing Verify Privilege Vault Remote for the first time or local vault was previously disabled, follow the instructions below:
-
Install Verify Privilege Vault Remote version 2.6 or newer via quiet mode.
CopyIBMSecurityVerify.PrivilegeVaultRemote.msi /quiet RUNCM=runCM KEYS="-disablelocalvault " -
Open the Verify Privilege Vault Remote registry, which can be found via the following path:
Computer\HKEY_LOCAL_MACHINE\SOFTWARE\IBMSecurity\IBM Security Verify Privilege Vault Remote -
Open the AdminConfig folder inside the Verify Privilege Vault Remote folder.
If you do not have an AdminConfig folder you will need to add the Registry Key and create a string in the Registry Key called
DisableLocalVault. -
Inside the AdminConfig folder, you will see a DisableLocalVault setting. By default, this setting is set to
n, meaning that local vault is enabled for local users.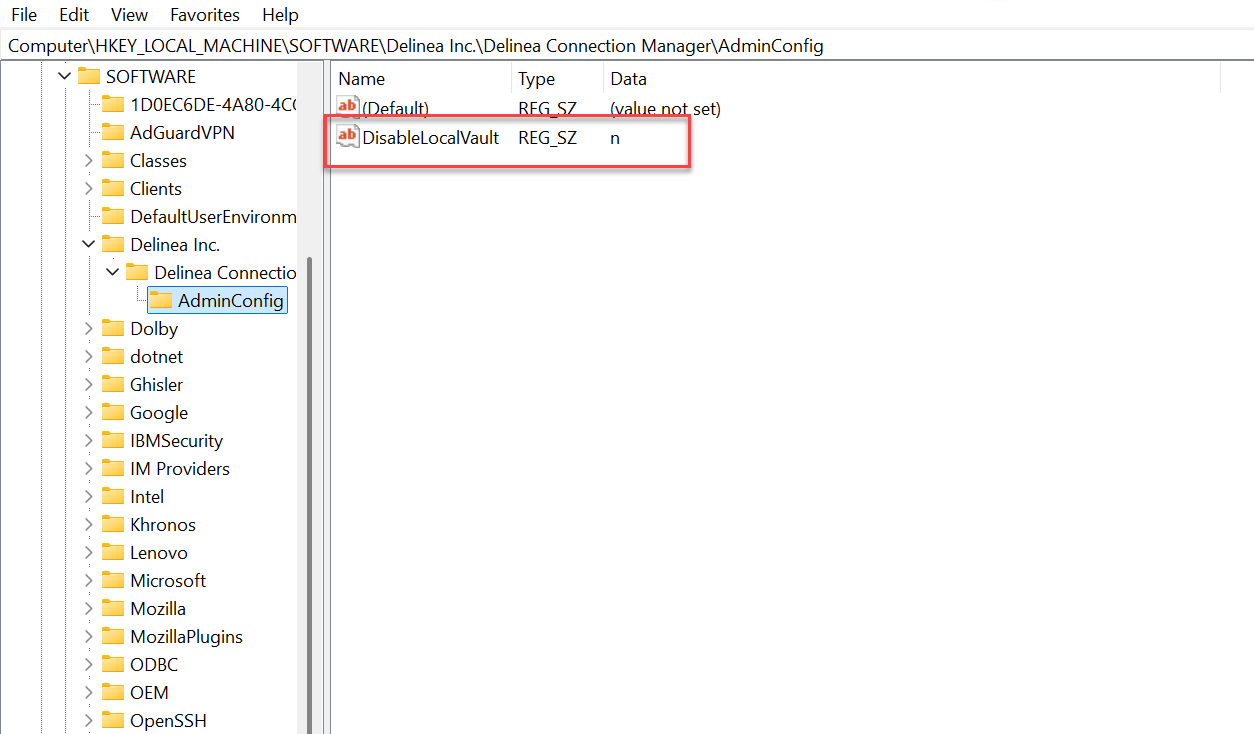
-
Change this value to
yto disable local vault for all users.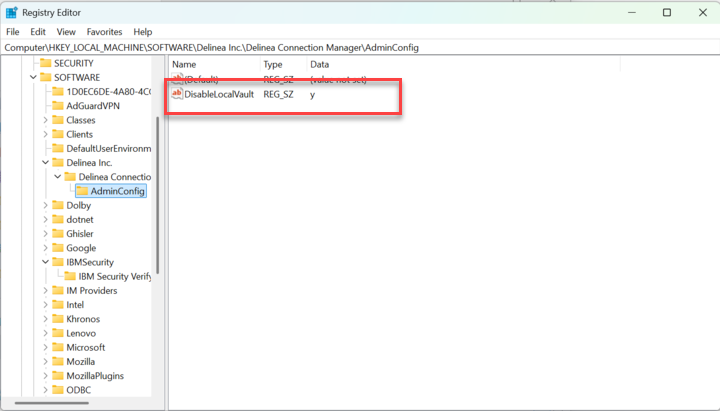
If users already had existing local vaults created, they will be able to continue using them after this setting is applied.
Backing Up and Disabling Existing Local Vaults
If users already had an existing local vault created, administrators can disable these local vaults, before or after installation, by following these steps:
-
Open the Verify Privilege Vault Remote registry, which can be found via the following path:
Computer\HKEY_LOCAL_MACHINE\SOFTWARE\IBMSecurity\IBM Security Verify Privilege Vault Remote -
Change the DisableLocalVault value to
fy -
When users launch Verify Privilege Vault Remote, they will need to enter the password to the local vault and they will see a message that their local vault was disabled by administrator.
The local vault option in the left side navigation will be disabled for all users and a backup for the .dat file will be automatically created. This setting will take effect when Verify Privilege Vault Remote is relaunched.
Re-Enabling Local Vault After Disabling
Administrators can centrally re-enable local vaults by following the steps below:
-
Change the value in the Registry to
nor delete this value altogether. -
In the Main Menu left-side navigation click Enable Local Vault.
-
Delete the current
ConnectionManager.datfile. -
Rename the backup file
ConnectionManager.dat.baktoConnectionManager.dat.