Installing on Windows
-
Click here to start the download process.
-
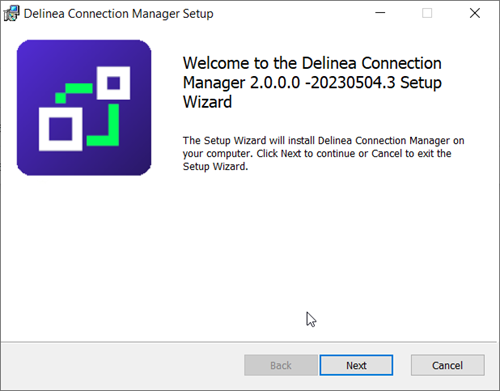
Double-click the MSI file to start the install process.
-
Click Next to continue.
-
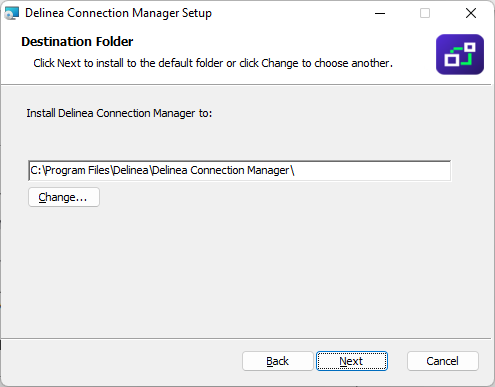
Select the location to install Verify Privilege Vault Remote or leave the default location.
-
Click Next to confirm the location and accessibility for the install.
-
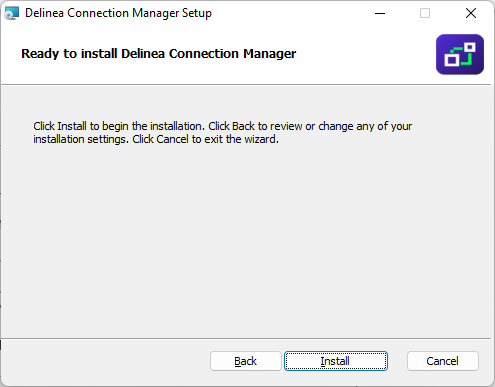
Click Install to start the installation. A progress bar will be displayed while the installation is in progress.
-
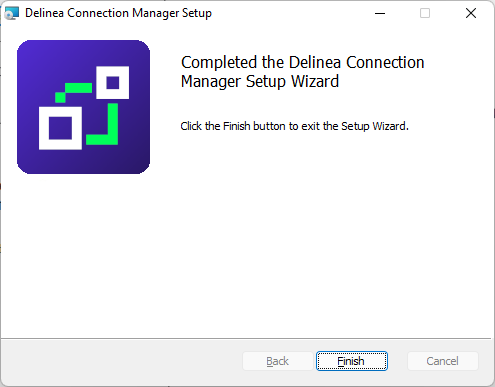
Once the install has finished, click Finish.
The install is complete, and the Verify Privilege Vault Remote icon will be added to the desktop for easy access.
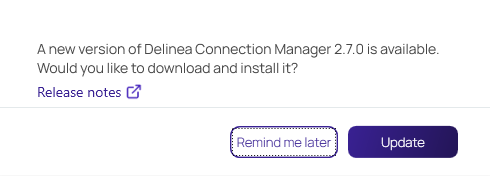
Updates
When the Verify Privilege Vault Remote application is launched, users are prompted with an update message if a new release is available. If you would like to update, click Update or choose Remind me later. Starting with the 2.7 release, the update window will also contain a link to the release notes of the latest version. Once the update is complete, Verify Privilege Vault Remote will launch automatically.