Launchers
Verify Privilege Vault Remote can act as a protocol handler, which means that Verify Privilege Vault Remote can launch Verify Privilege Vault Secrets that use other Launcher types directly from the Verify Privilege Vault Remote UI. Verify Privilege Vault Remote supports any launcher that is supported by Verify Privilege Vault and includes, but is not limited to: PowerShell, CmdLine, MS Word, Notepad, Excel. These launchers also support opening a tab in Verify Privilege Vault Remote, session recording, and workflows.
ActiveX components will not be recorded.

The number of launchers visible in the right navigation panel will depend on your screen size, screen resolution, and text size. The below matrix offers approximate guidance in terms of the number launchers visible:
| Screen Size | Screen Resolution | Screen Scale | Font Size | # of Launchers |
|---|---|---|---|---|
| 27 in | 4k | 100% | Normal | 25+ |
| 15 in | 4k | 225% | Normal | <25 |
The Secrets with launcher can be launched in the Verify Privilege Vault UI and have the protocol handler open and run the launcher in Verify Privilege Vault Remote. The Secret needs to be configured to use the protocol handler, and when launched it uses Verify Privilege Vault Remote if available. When Verify Privilege Vault Remote opens, it will be in a "Locked" state, with only the Verify Privilege Vault launched session(s) being available. Please note that when launching a connection from protocol handler you will not be able to reconnect.
If Verify Privilege Vault Remote is launched using the protocol handler and is in the "Locked" state, users have a "Sign In" option available to fully log into Verify Privilege Vault Remote to use their other connections.
When a remote session is connecting over a proxy, the connection tab displays the remote host name instead of the local host name.
Local Connections are limited to RDP and SSH launchers.
Proxy Tabs Show Remote Host Name
When a session is connecting through a proxy, the tab label displays the identity of the remote host.
Screen Resolution for New Session Window Views
When you maximize an active RDP session window or you drag it as a standalone window to a second monitor, the session automatically disconnects and reconnects so it can use the highest supported screen resolution for the new window view. When you do the same with an active RDP Proxy session window, the session cannot automatically reconnect because RDP Proxy sessions launch with a one-time password (OTP) that cannot be regenerated. Therefore an RDP Proxy session cannot use the highest supported screen resolution for a new window view. Note: no RDP session of any kind can use the highest supported screen resolution for a new window view if the default setting for Desktop Size has been changed from Auto to a fixed size under RDP Global Settings.
Moving and Reorganizing Session Tabs and Windows
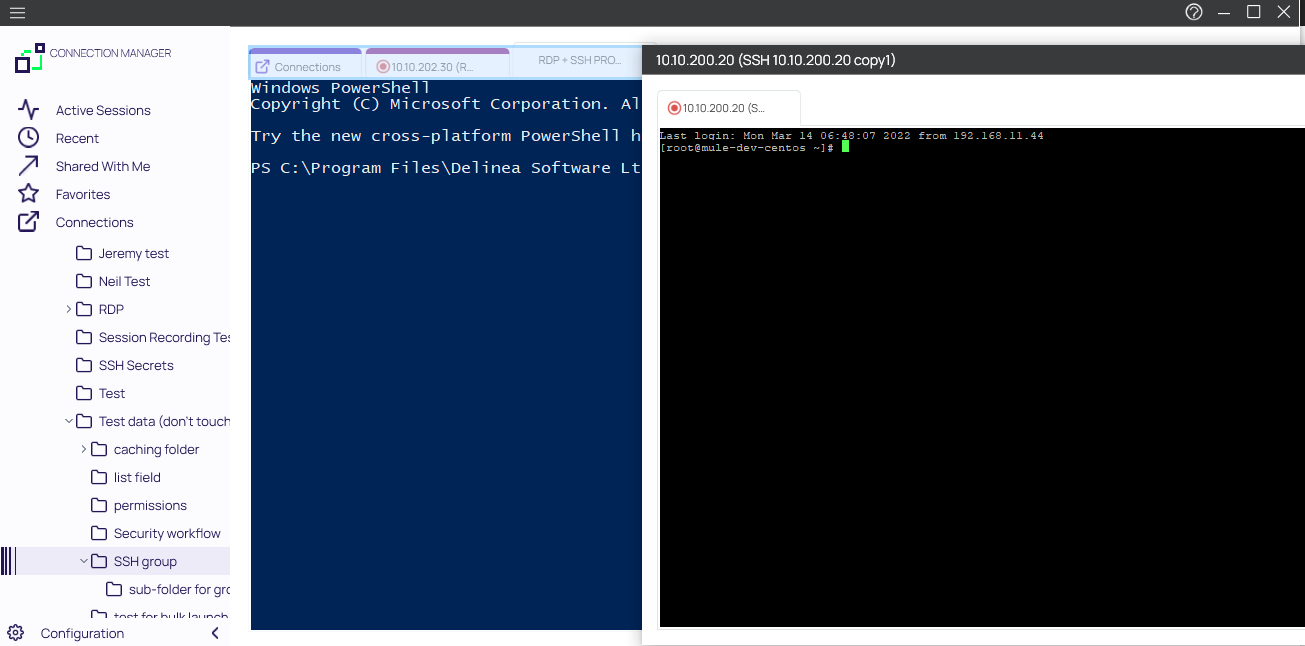
You can undock, move, and redock session tabs and windows in Verify Privilege Vault Remote. To undock a session window, click the session tab and drag it out of the tab dock area. The tab becomes a standalone session window, which you can drag to another monitor or to another location on your desktop.
To redock a session window, click and drag it toward the row of docked tabs in the main Verify Privilege Vault Remote window. As you drag the window close to the tab dock, a blue line appears around the dock:
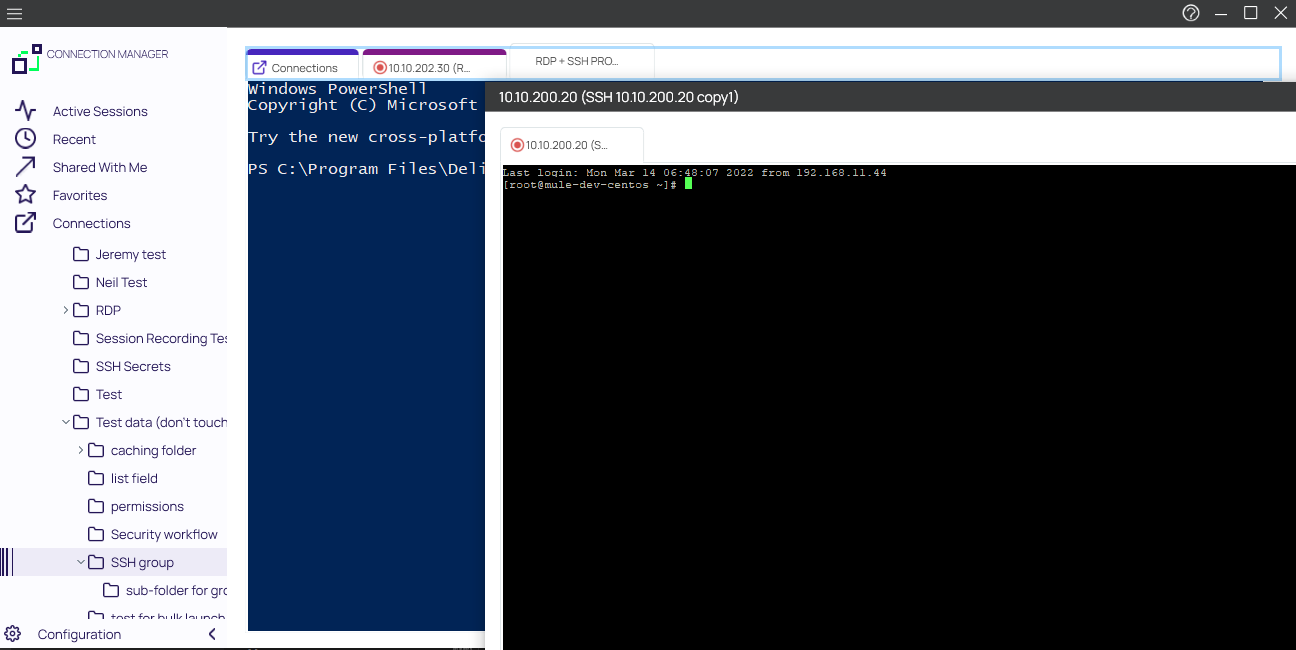
When you drag the window onto the tab dock, the dock turns light blue to indicate that you can drop the window:
Session Recording
If session recording is configured to run only on the primary secret, only the primary session will be recorded. If the secret is configured to record multiple windows, Verify Privilege Vault Remote honors the setting and all sessions started from the initial session are also recorded.
For third-party launchers, session recording is limited to using the custom app option, rather than batch scripts. This is because, with the custom app option, Verify Privilege Vault Remote can accurately identify the process ID of your application and ensure that the main window is recorded and sent to the server. This approach helps Verify Privilege Vault Remote deliver a consistent and high-quality recording experience for your sessions.
The default screenshot queue limit is set to 0 in the Application Configuration file, but, if you are experiencing a slow internet connection speeds or interruptions, IBM Security recommends increasing the ScreenshotsQueueLimit to any positive value, such as 30 screenshots. The greater the value you set, the more screenshot data will be queued before the session is terminated. Please see Setting the Screenshot Queue Limit for more information.
A typical example are Xming implementations of Secure Shell (SSH) to securely forward X11 sessions from other computers. While recording an Xming session, all windows created are recorded and if a user tries to use X11 forwarding for example in Chrome, the new Chrome window will be recorded too.
Verify Privilege Vault Remote requires a connection to the internet for the session recording functionality to work.
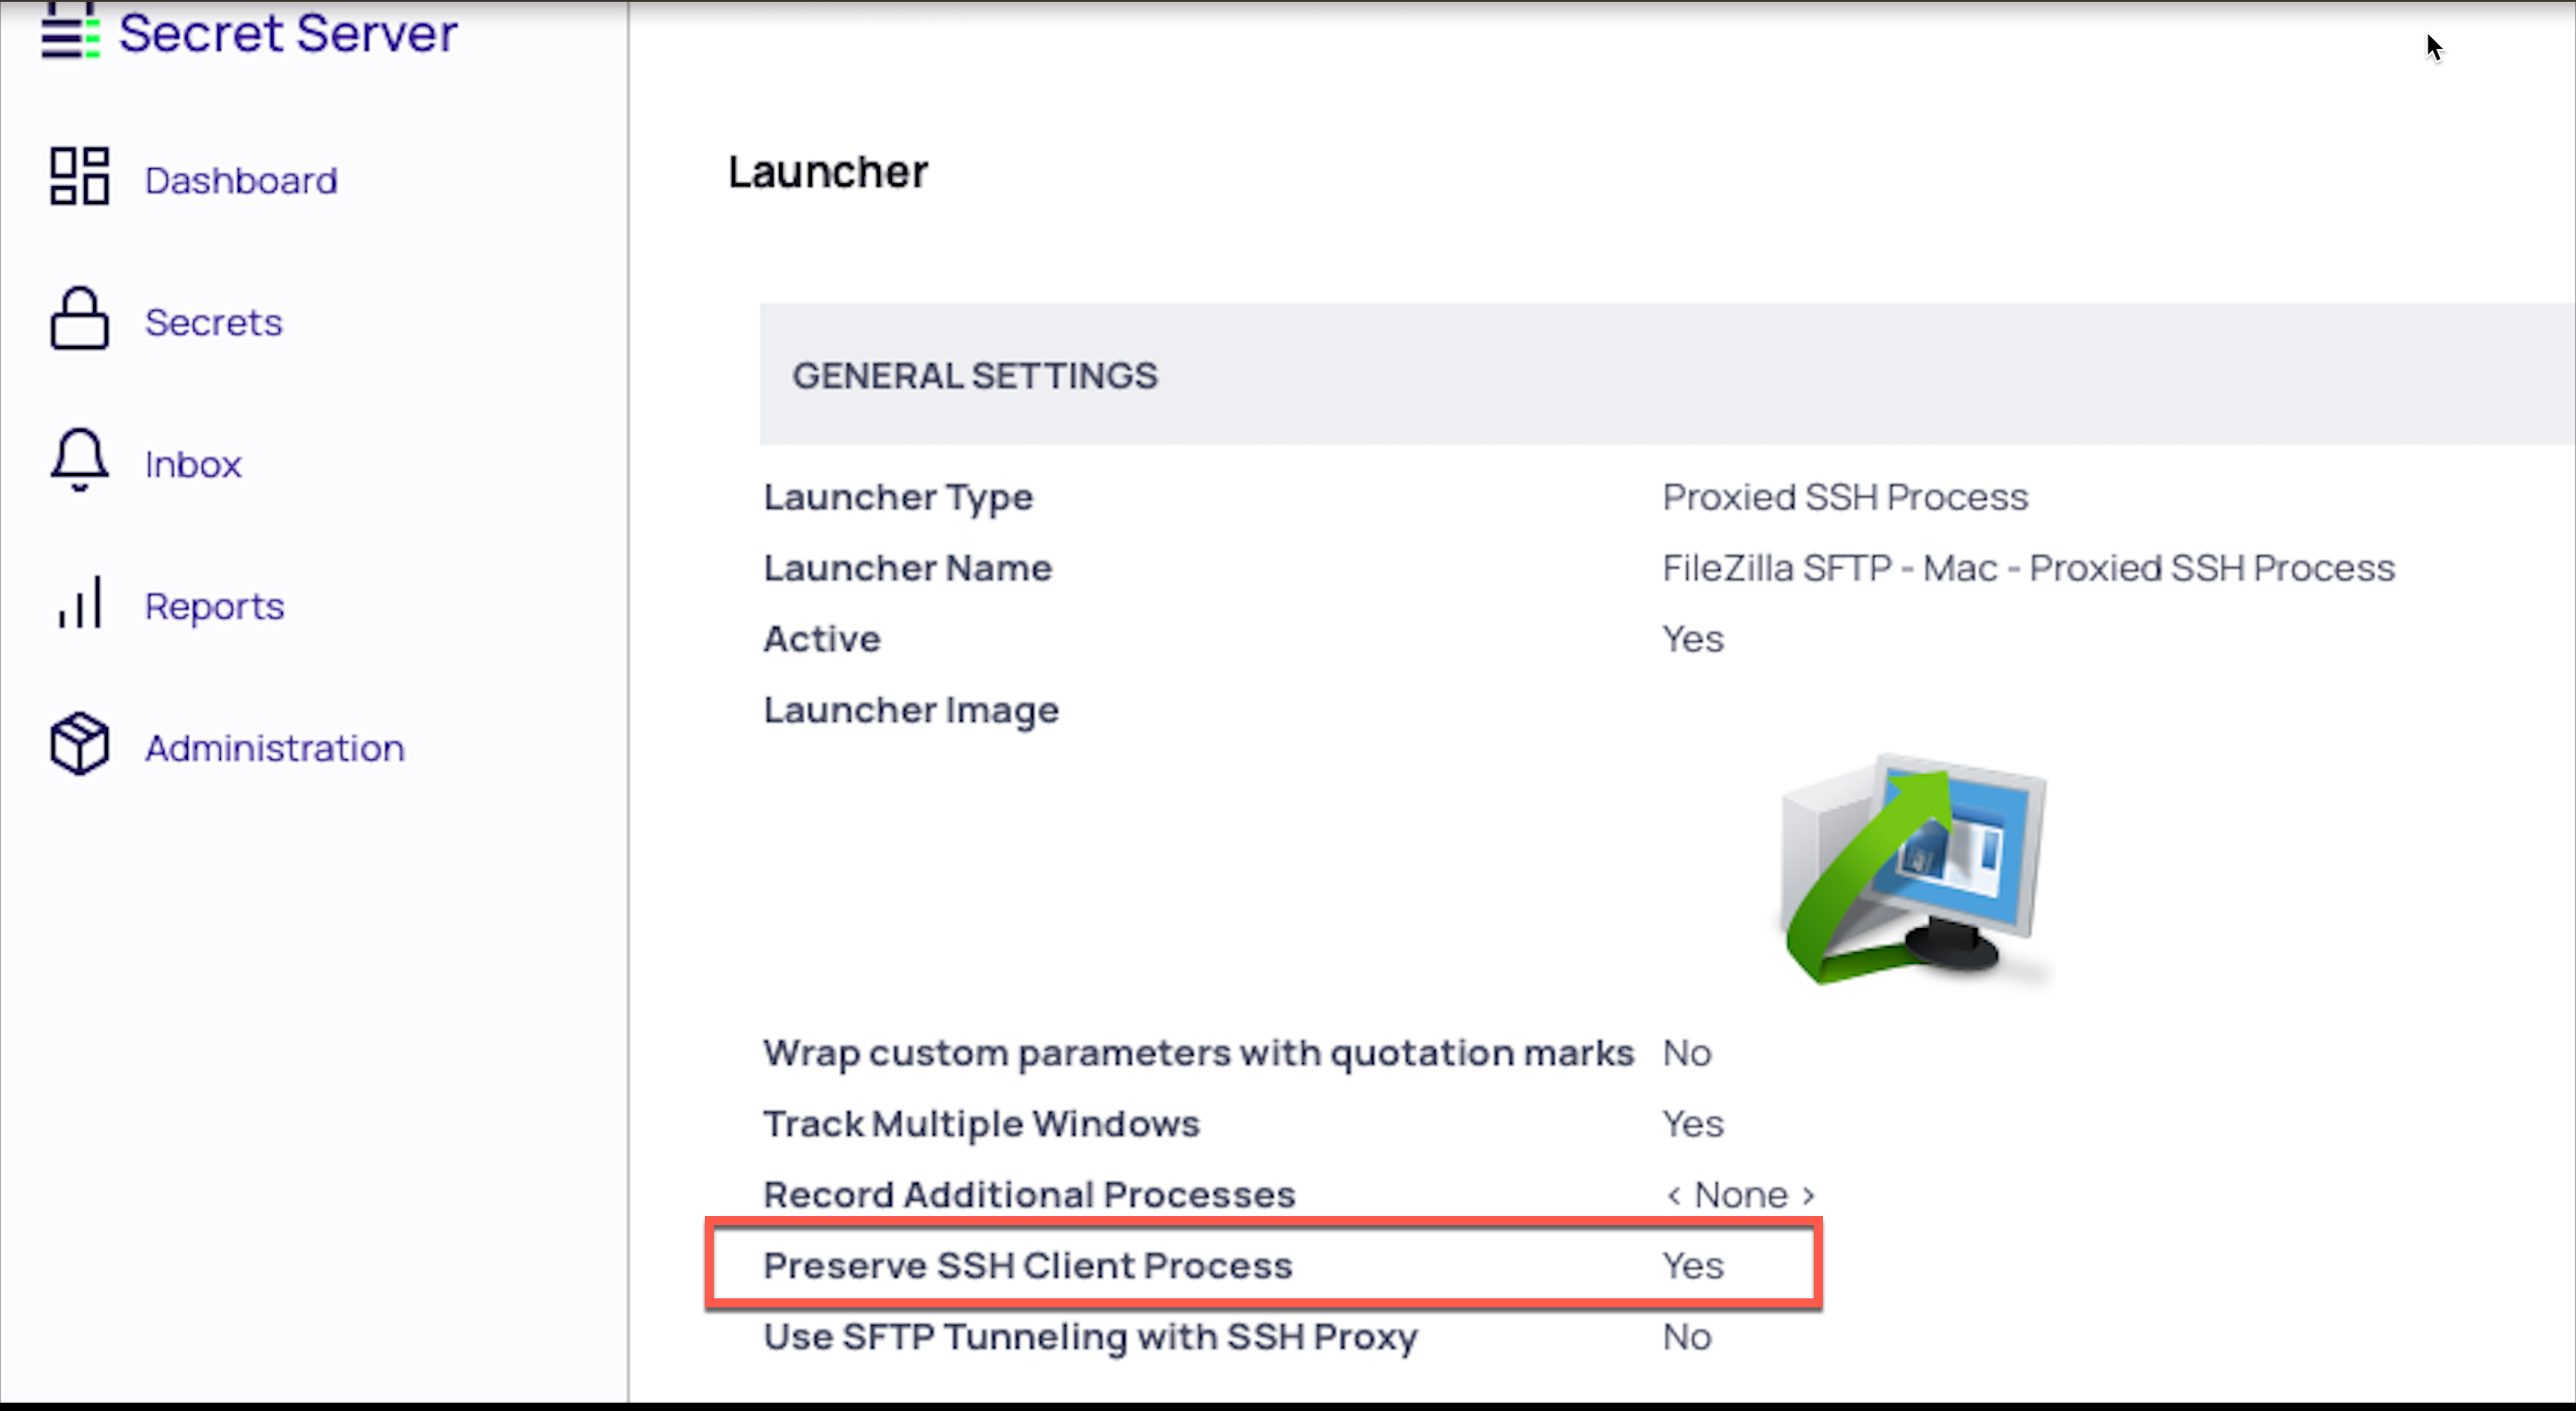
Working With Third-Party Applications (Preserve SSH Client Process)
When using Verify Privilege Vault Remote with third-party applications, users will need to create a custom launcher for their application. If the user closes the Verify Privilege Vault Remote tab, the third-party application will not close unless Proxied SSH Process is set and the flag Preserve SSH Client Process - True is enabled.
Launching from Verify Privilege Vault without Verify Privilege Vault Remote Open
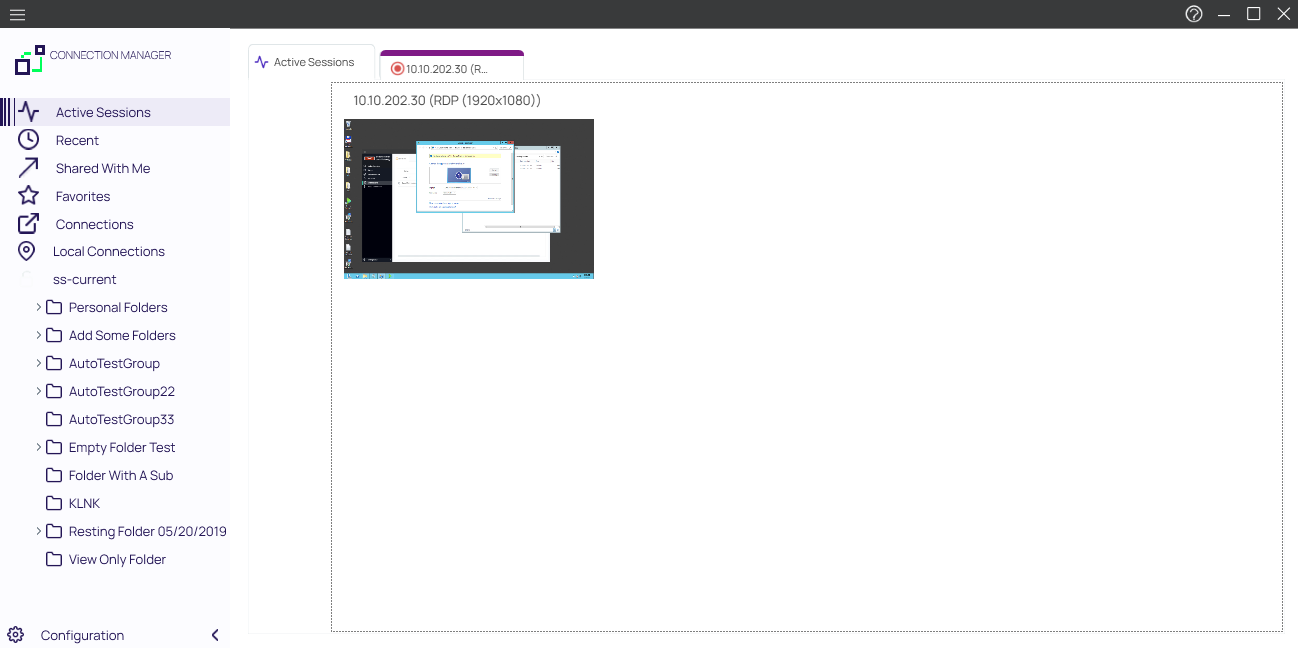
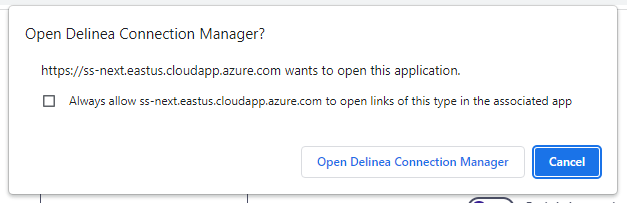
If a protocol handler is launched from Verify Privilege Vault, without having an open Verify Privilege Vault Remote, the Open Connection Manager? window opens:
Click Open Connection Manager and an active session is launched in Verify Privilege Vault Remote:
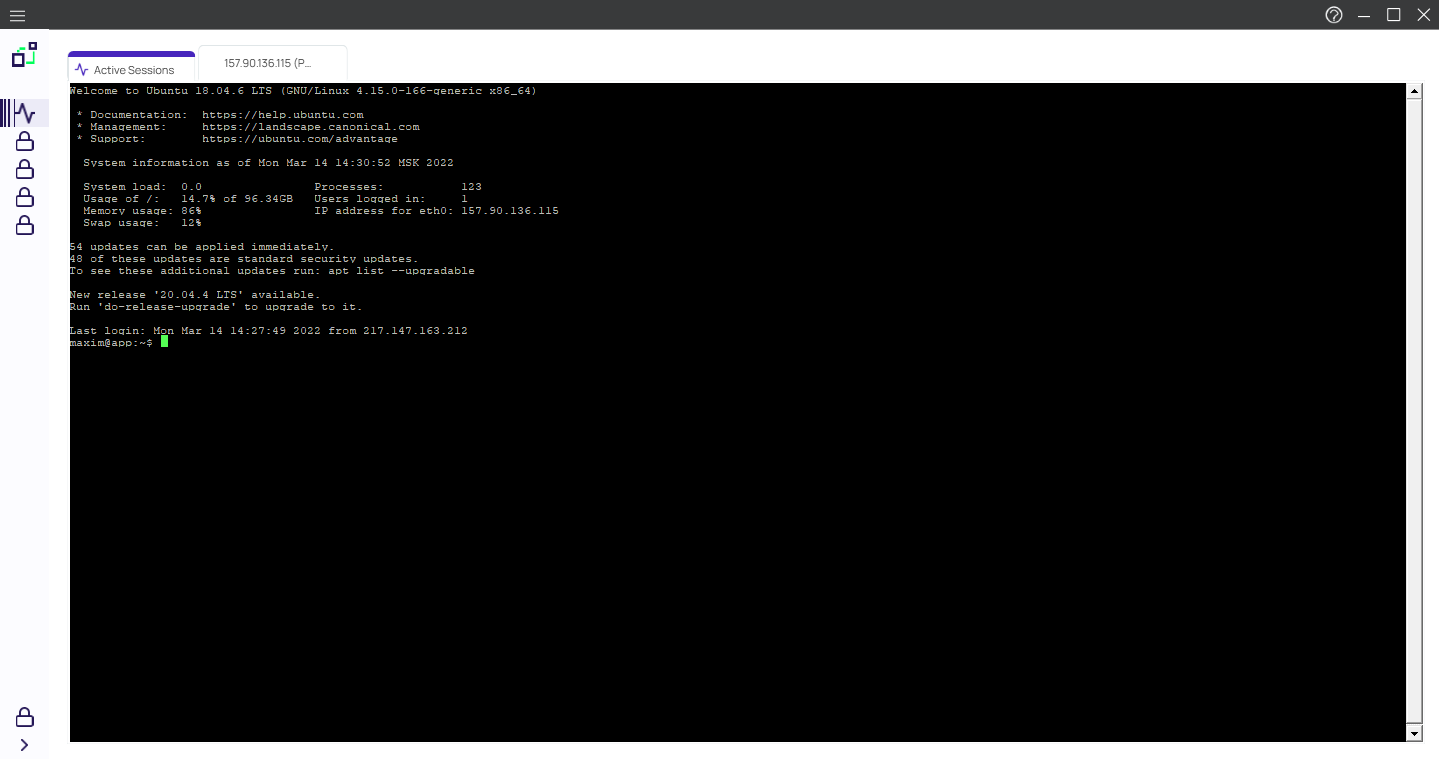
In this example the application was opened and placed inside the new tab. Certain applications won't fit in the tab and will be opened in an independent window outside the tab. Other windows opened by the user won't be placed inside the tab either, but everything that originated from the originally launched application will be tracked.
For applications launched from within a Verify Privilege Vault, the other configured local and existing Verify Privilege Vault connections remain locked in Verify Privilege Vault Remote.
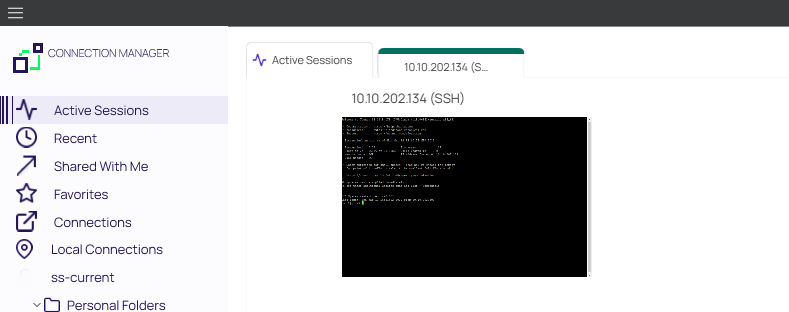
Only navigation between different Active Session tabs initiated from Verify Privilege Vault is possible.
Signing In After the Launch
To sign in after an app launch was initiated from Verify Privilege Vault,
-
From the hamburger menu, select File | Sign in or right-click on Active Session and select Sign in.
-
Enter your password.
-
Click Sign In.
Once signed in, the user has access to all connections and all Verify Privilege Vault Remote functionality is unlocked.

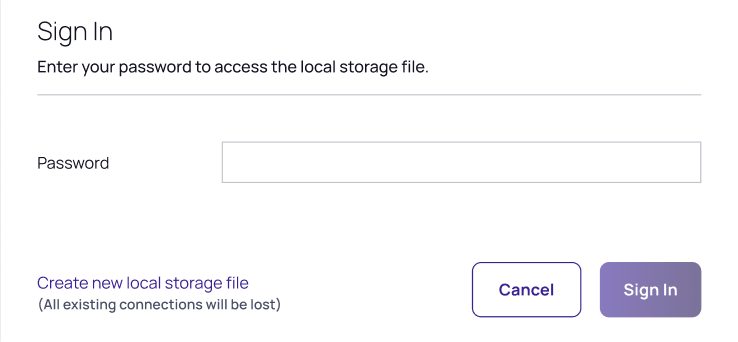
Creating a New Local Storage File
During the sign in, users can select to create a new local storage file by clicking the link in the sign in window:
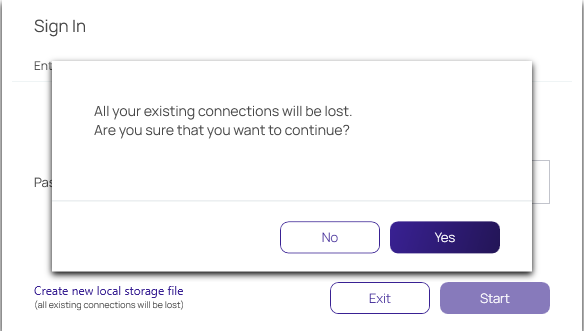
If this option is used, existing connections will be lost.