Authenticating to Verify Privilege Vault via External Browser
Verify Privilege Vault Remote will only authenticate to Verify Privilege Vault version 10.7 or later and requires a valid Verify Privilege Vault license.
-
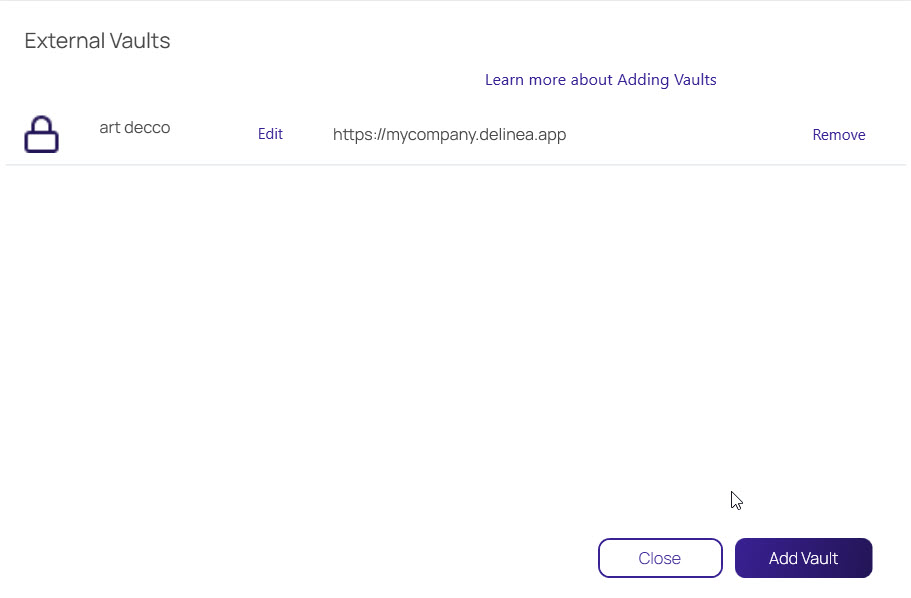
In the Configuration menu, select Privilege Vaults.
-
Click Add Vault.
-
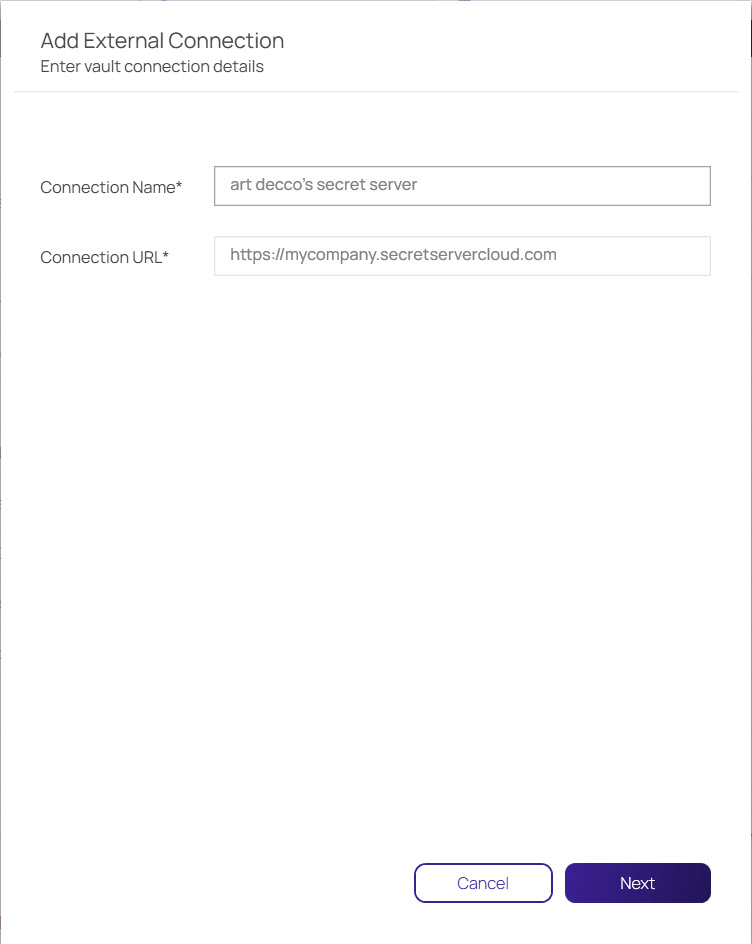
Enter your Verify Privilege Vault Connection Name and Connection URL and click Next.
-
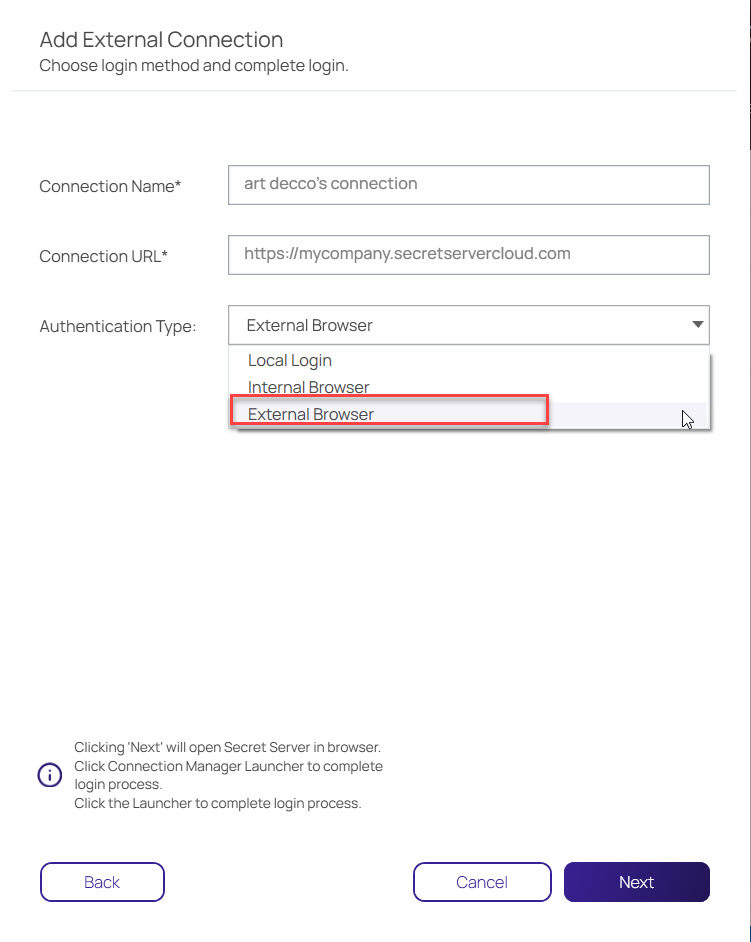
Select External Browser from the Authentication Type dropdown menu.
-
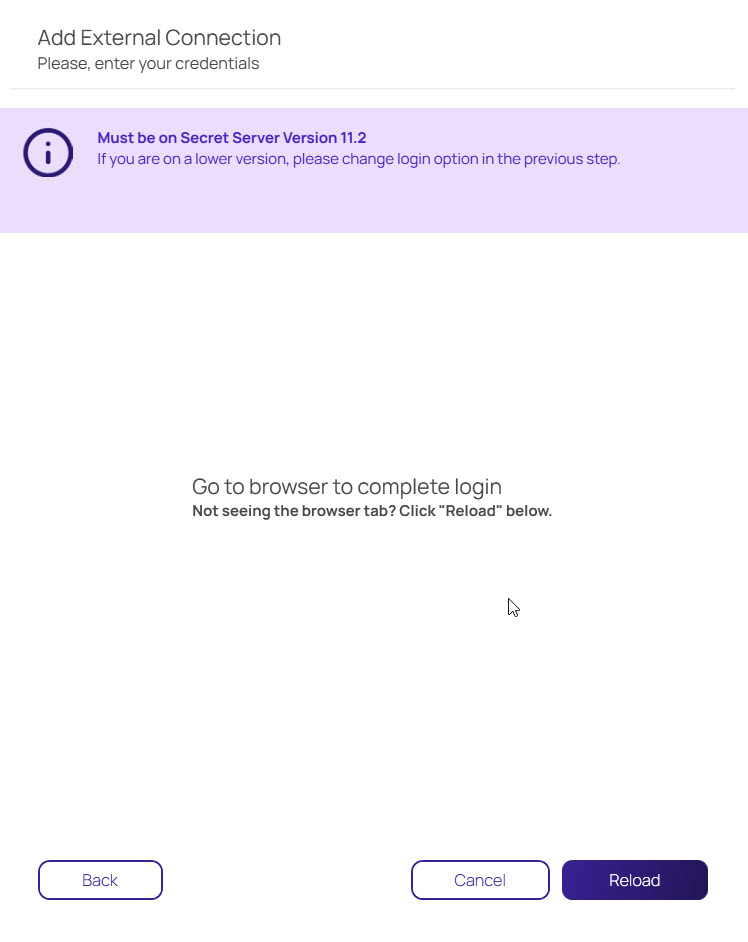
A Verify Privilege Vault Remote banner will appear requesting that you go to your browser to complete the connection.
-
Login with your Local Login credentials.
-
Under Launchers, click isvp-vault-remote.
Customers using Verify Privilege Vault On-Premises version 11.7.31 and newer do not need to complete this step.