Thycotic One and Verify Privilege Manager
Overview
Thycotic One is the single-sign-on provider for IBM Security applications. With Thycotic One, one user account can be granted access to multiple IBM Security products, such as Verify Privilege Vault, Verify Privilege Manager, Verify Privilege DevOps Vault, and Verify Privilege Account Lifecycle Manager.
Thycotic One enables login integration using the OpenID Connect protocol, an industry standard single-sign-on method.
Thycotic One is the default identity provider in Verify Privilege Manager Cloud (PMC). When you set up the cloud instance, it will already be configured and ready to use Thycotic One. The initial admin user will log in with their Thycotic One account, and optionally, all newly created Verify Privilege Manager accounts can be synchronized with Thycotic One, so they can log in that way as well.
Logging in with Thycotic One
When Thycotic One integration is turned on, all Verify Privilege Manager users can log in either with their local passwords or with Thycotic One. All Verify Privilege Manager permissions and configuration will apply to that user regardless of how they logged in.
However, the local username and password and the Thycotic One username and password are not necessarily the same thing. In Thycotic One, you'll log in with your email address rather than your username, and the password you use may very well be different from the Verify Privilege Manager password.
You'll see this on the login page:
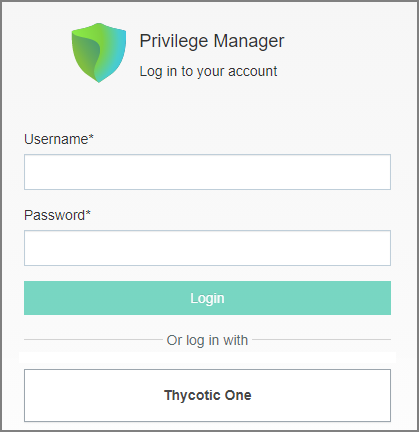
Clicking Local Login will bypass Thycotic One and allow the user to log in with their local Verify Privilege Manager password. Clicking Thycotic One will redirect the user to Thycotic One to authenticate. Once that is successfully done, the user will be redirected back to Verify Privilege Manager.
After clicking Thycotic One, users will type their email address and password:
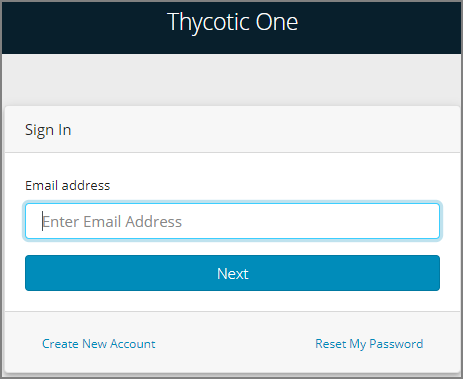
And then be redirected back to their dashboard in Verify Privilege Manager.
Configuring Thycotic One as a Foreign System
Thycotic One related configuration details can be accessed under Admin | Configuration. Two items can be customized:
- Credential: This credential is used by the Thycotic One Foreign System.
- The Thycotic One Foreign System.
Editing up the Credential
- Navigate to Admin | Configuration.
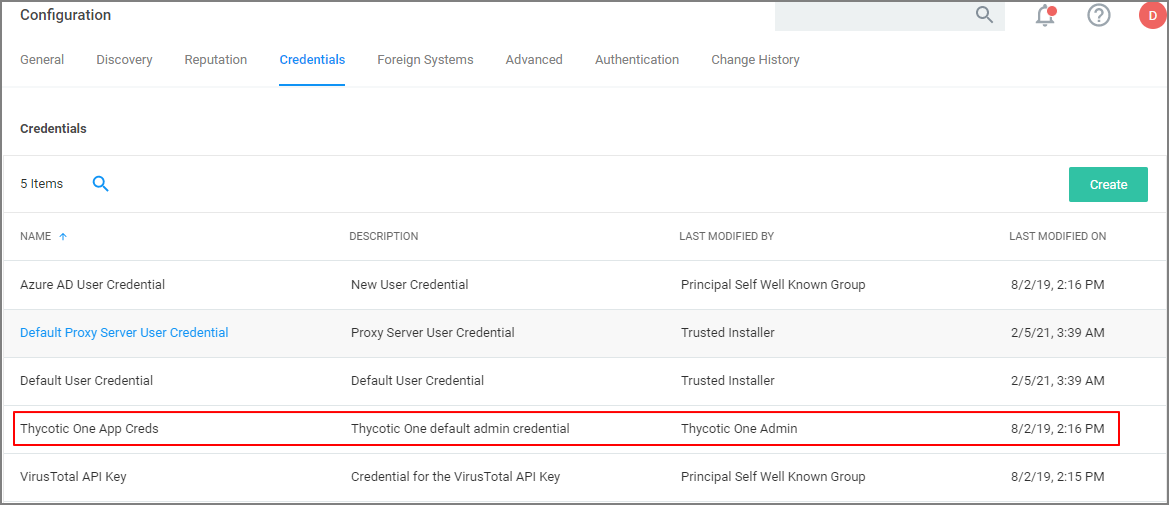
- Select Credentials.
- Click Create to create a new credential to use with Thycotic One or edit details on the existing one. Make sure to provide the correct Thycotic One account name and password information.
- Click Save Changes
Your Thycotic One credential is listed on the Credentials tab.
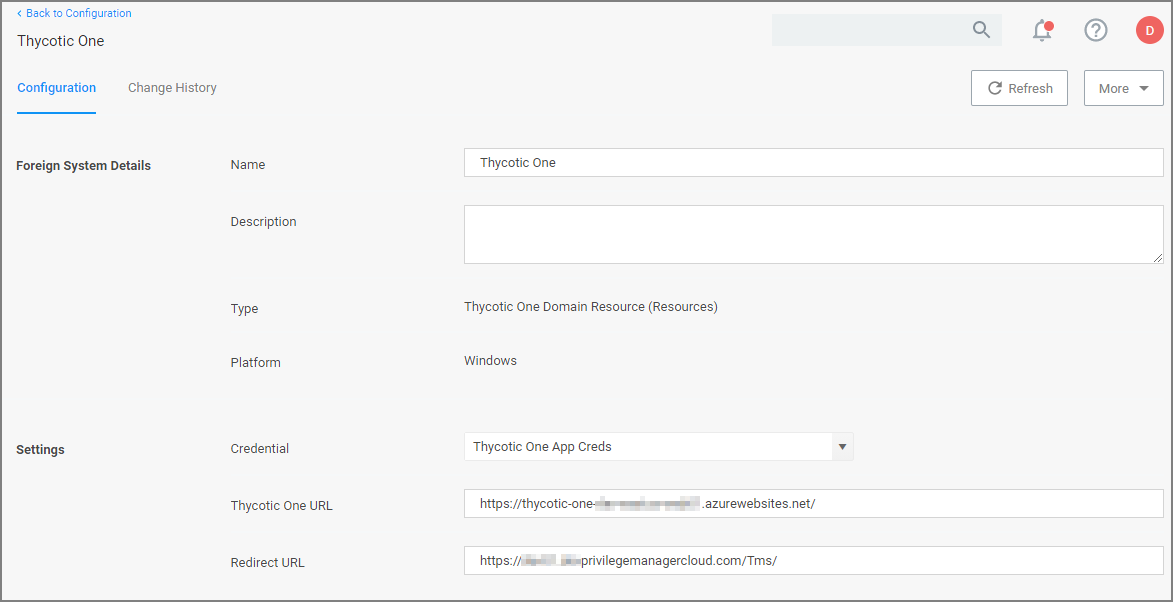
Editing the Foreign System
The Thycotic One Foreign System entry is auto-populated based on the information provided during the registration process as documented in the Cloud Quickstart Guide.
The following steps show how to access the foreign system for edits.
-
Navigate to Admin | Configuration.
-
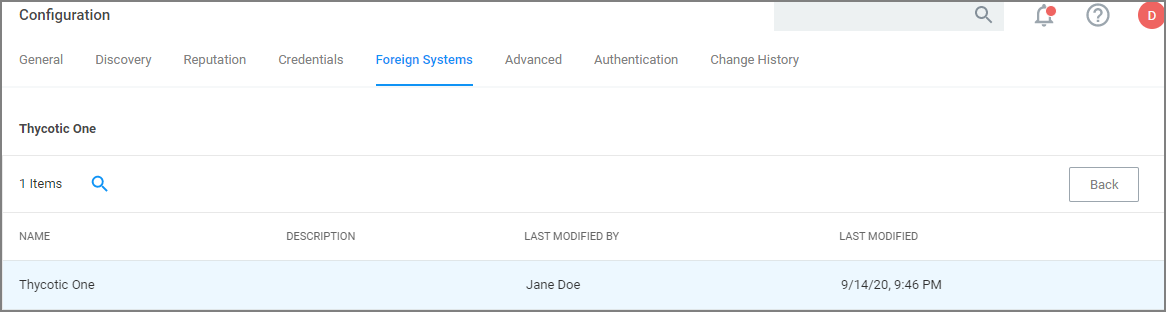
Select Foreign Systems.
-
Select Thycotic One.
-
Customize the Name and Description.
-
Under Settings you may edit:
- Credential: This is the name of the credential that you created for Thycotic One based on the previous procedure.
- Thycotic One URL: This is the URL forThycotic One that is based on the region selection during the setup process.
- Redirect URL: This is the URL to your specific Verify Privilege Manager Cloud instance.
Deleting a Thycotic One Account (pre v11.4.0)
Thycotic One user accounts created in v11.4.0 and later have the Delete action available in the user interface without editing the account's XML. Refer to Editing, Deleting, and Exporting a User.
For user accounts created prior to v11.4.0, follow these steps to edit the account's XML and enable the Delete action in the user interface for those accounts.
Thycotic One accounts in Verify Privilege Manager Cloud should first be removed from the Product membership in the Thycotic One portal manager. Additionally, Thycotic One accounts, that are the only accounts that have access to a Verify Privilege Manager Cloud instance in situations when authentication from Azure/SAML, may be broken (expired keys, application tenant expiration, etc.,).
-
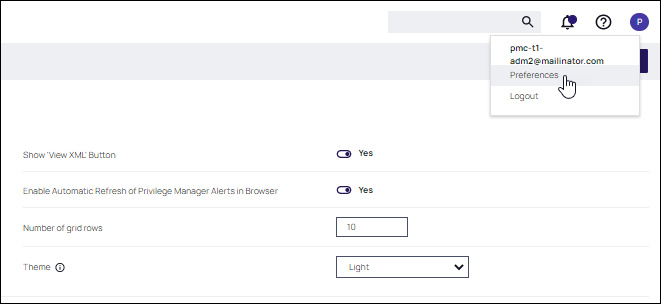
In your user preferences, make sure that Show XML is enabled.
-
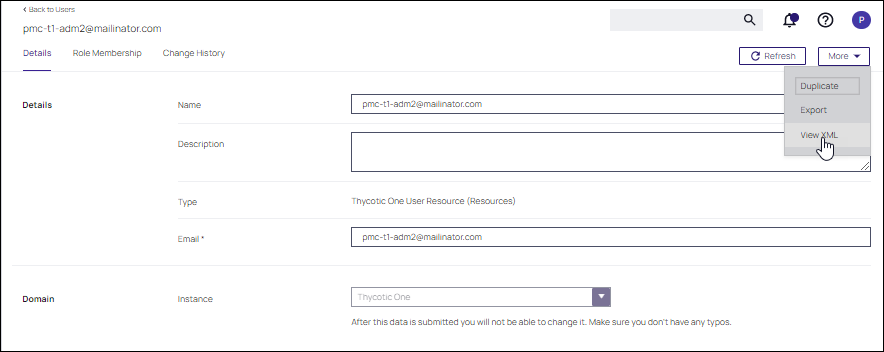
Select Admin | Users, select the Thycotic One user.
-
In the upper right, click More and select View XML.
-
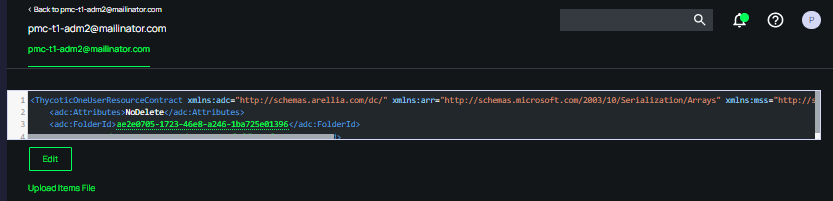
In the XML Editor, click the Edit button. Remove the attribute NoDelete (line 2).
-
Select Import then Save the XML.
-
Return to the user details for the Thycotic One account. Click More and the option to Delete is available.