Upgrading to 10.9.000005/33
This upgrade of Verify Privilege Vault is a two-step process where you first upgrade to version 10.9000005 and then to 10.9.000033. The reasoning behind this is to provide a safeguard that warns you if the new .NET system requirement is not met prior to the installation making irreversible changes, potentially resulting in a non-functioning Verify Privilege Vault installation. The second step to 10.9.000033 depends on the .NET update in the first step and deploys the new features for this release.
How Upgrades Work
Verify Privilege Vault periodically polls the update server to detect new updates. If the "Allow Automatic Checks for Software Updates" option is enabled in the Admin > Configuration menu, you will see the "An update is available (xx.x.xxxxxx)" link after logging in with an administrator account. The steps below can be used to perform an upgrade for versions 7.1.000015 and higher. If you have an older version of Verify Privilege Vault, please contact IBM Security technical support for assistance.
Before You Begin
-
Ensure you will have access to account credentials for the server hosting Verify Privilege Vault AND the SQL Server instance hosting your Verify Privilege Vault database.
-
Ensure you have a recent backup of the application files and database available.
-
If you use clustering, stop the application pools on all of the servers except the one being upgraded.
-
Conduct the Verify Privilege Vault and Verify Privilege Vault Cloud .NET Framework 4.8 Mandatory Upgrade.
How to Upgrade
-
From a computer that has outbound network access, click on the upgrade link to go to:
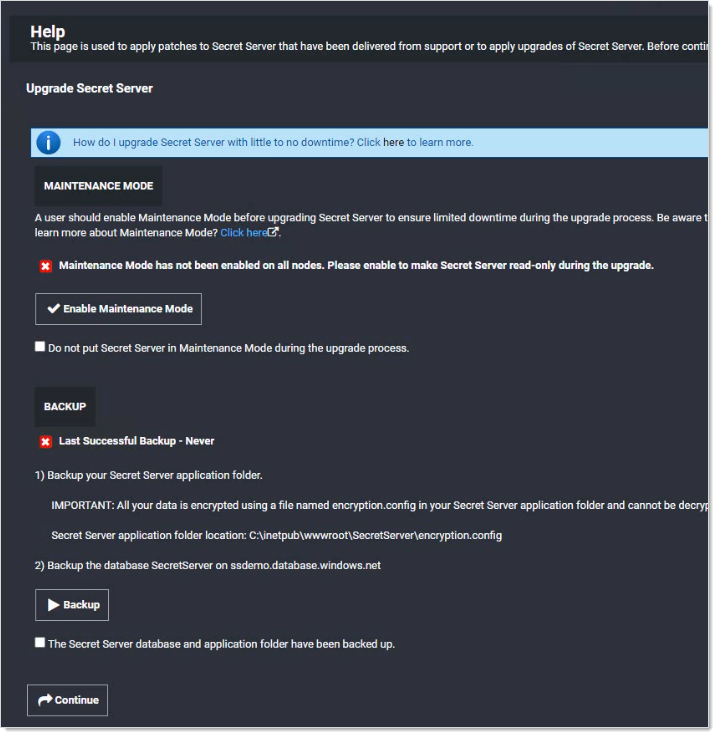
http://<yourinstance>/SecretServer/Setup/Upgrade. The Verify Privilege Vault Setup Home page appears:If your computer does not have outbound network access, please see Upgrading Verify Privilege Vault Without Outbound Access.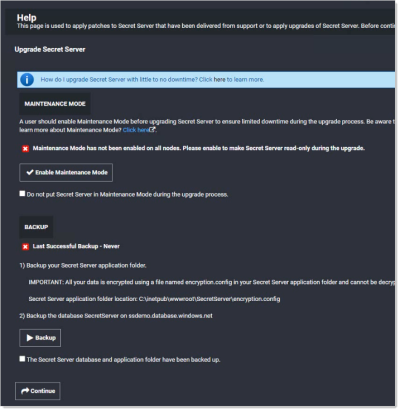
-
Download the two zip files (
Version_10_9_000005.zipandVersion_10_9_000033.zip), which contain the installs, using the link at the top of the page. -
Click the Enable Maintenance Mode button to enter maintenance mode.
-
Backup your Verify Privilege Vault application folder.
Important: All your data is encrypted the
encryption.configfile in your Verify Privilege Vault application folder. Your data cannot be decrypted without it. Thus, it is critical that you make a backup of the application folder and its contents before proceeding. -
Backup the database named SecretServer at the IP address listed.
-
When finished backing up both, click to select the The Verify Privilege Vault database and application folder have been backed up check box.
-
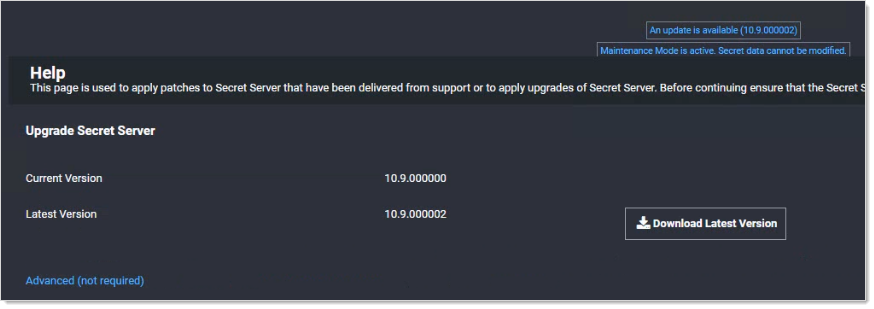
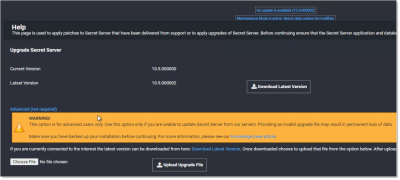
Click the Continue button. The download page appears:
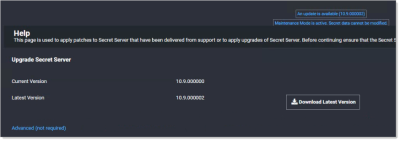
-
Click the Advanced (not required) link. The section appears:
-
Click the Choose File button and locate the
Version_10_9_000005.zipfile you downloaded. -
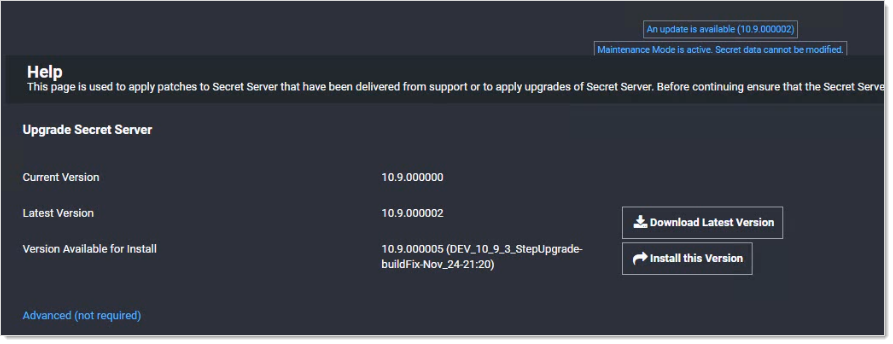
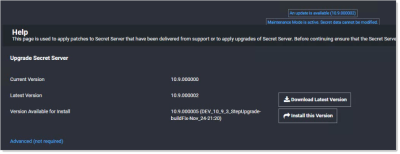
Click the Upload Upgrade button. The file uploads, which can take several minutes. When the upload is complete the 10.9.000005 version appears:
-
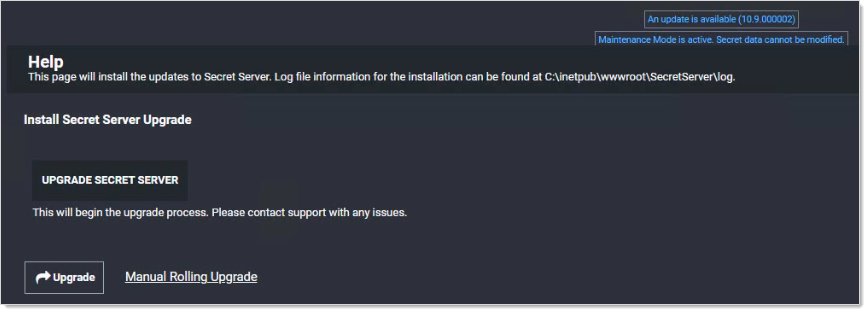
Click the Install this Version button. The Install Verify Privilege Vault Upgrade page appears:

-
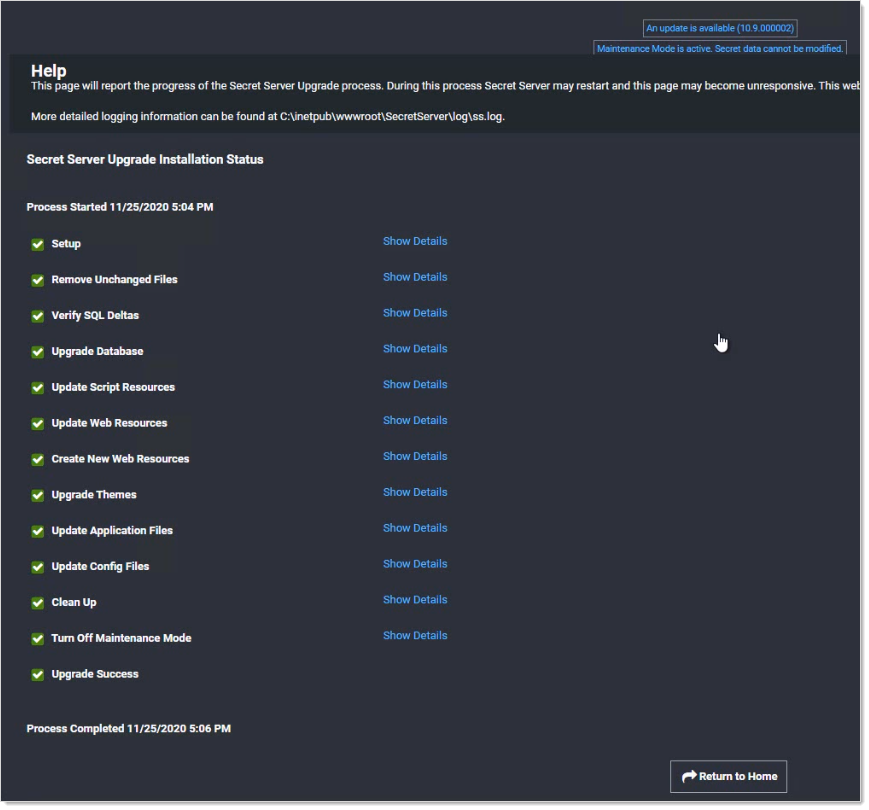
Click the Upgrade button. An upgrade installation status page appears (not shown), and the upgrade begins. This will take several minutes. When done, an "Installation Complete" message appears.
-
Click the Show Details link to view the entire upgrade process:

-
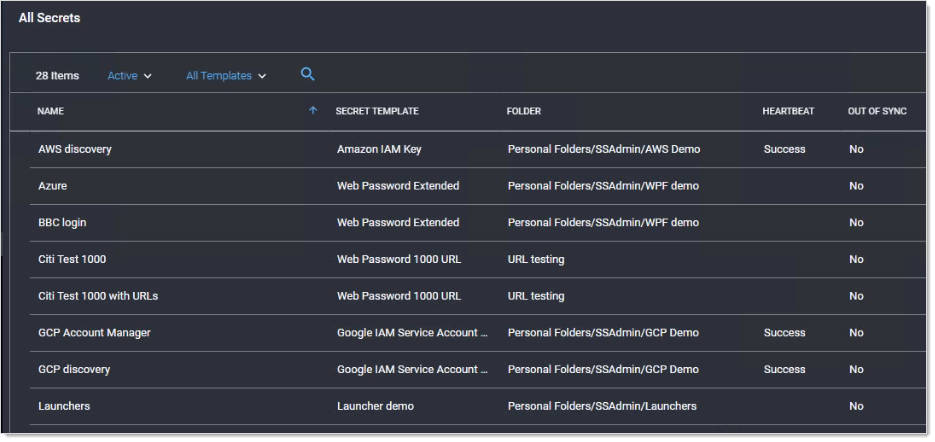
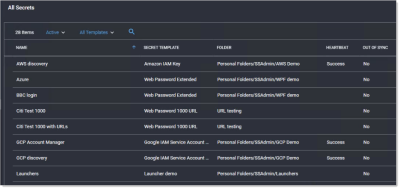
Click the Return to Home button. You return to the previous page. The first installation of the two is complete. The new installation of Verify Privilege Vault starts, which may take a bit of time. Verify Privilege Vault opens to the All Secrets page:
-
If you intend to use Web clustering, proceed to Upgrading Verify Privilege Vault with Web Clustering.
-
Repeat the install procedure using the
Version_10_9_000033.zipfile you downloaded. -
Once again, if you intend to use Web clustering, proceed to Upgrading Verify Privilege Vault with Web Clustering.